Got a PowerPoint presentation collecting digital dust? It’s time to unlock its full potential. Turning your static PowerPoint slides into a dynamic video is one of the smartest moves you can make to get more eyes on your content. It transforms a passive deck into an engaging, shareable asset that works for you long after the live presentation is over.
You're not just presenting anymore; you're creating a durable communication tool that can teach, market, and inform on its own.
The Strategic Advantage of Video Presentations
Before diving into the "how," let's quickly cover the "why." In a world overflowing with content, the format you choose is everything. Static slides are great when you're there to guide the conversation, but they often fall flat when shared on their own. They’re missing the story, the timing, and the human touch that video delivers so well.
Think about it in real-world terms. A marketing team can slice and dice a single sales deck into a dozen short, punchy videos for a social media campaign. A corporate trainer can convert a dense training module into an on-demand video resource, giving employees the freedom to learn whenever and wherever they want. The core information stays the same, but its reach and impact are suddenly multiplied.
This decision tree breaks down the core benefits you unlock when you turn a PowerPoint into a video, whether your goal is to ramp up engagement or simply get your message out to a wider audience.
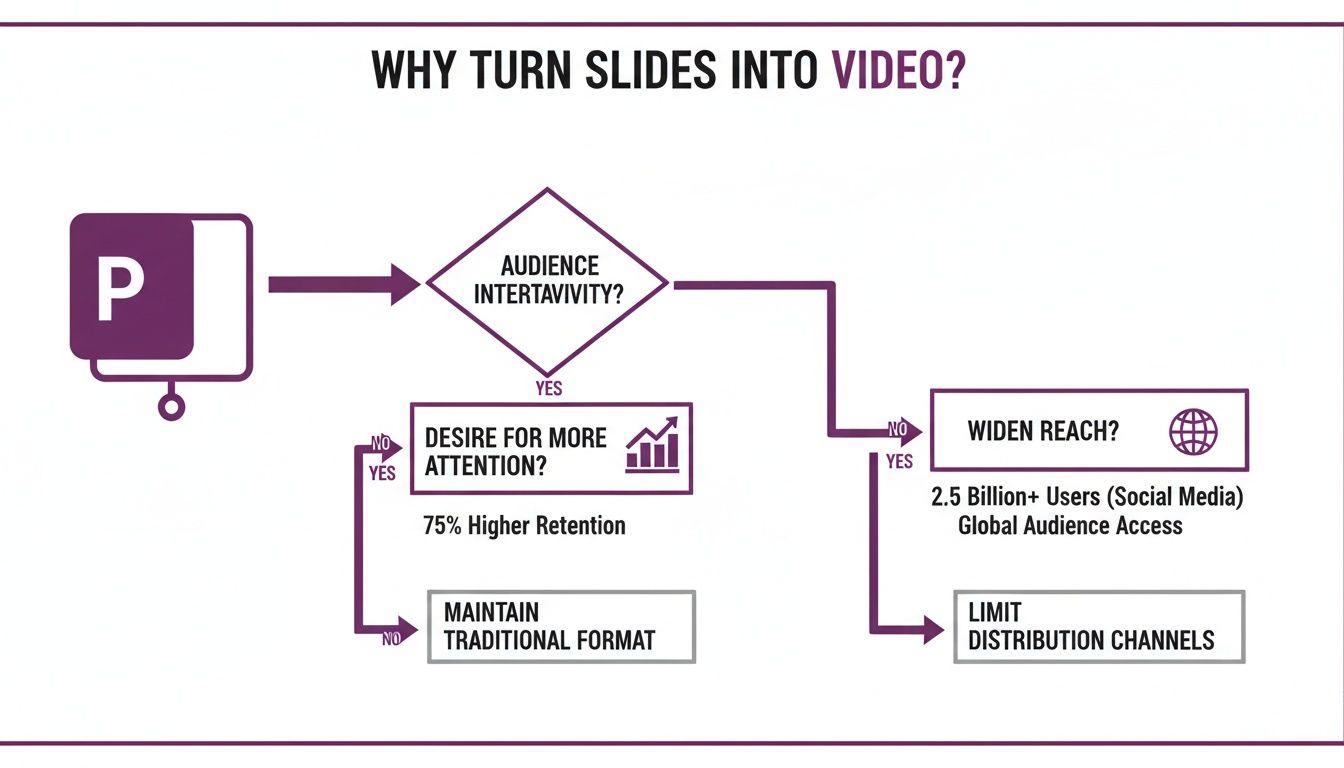
As you can see, this isn't just about changing a file type. It’s a strategic decision to make your content more flexible, accessible, and ultimately, more effective.
Why Video Drives Better Results
The shift to video isn't just a trend; it's a proven strategy backed by solid data. In fact, a staggering 91% of businesses now use video in their marketing, with presentation-style videos being one of the top five formats they create.
Why the big push? Because it works. Websites with video convert better, and adding a video to a landing page can boost conversions by up to 80%. If you want to dig deeper, you can find more video conversion statistics that highlight just how powerful this format is across different industries.
The real magic of converting a presentation to video is its ability to tell a compelling story. With narration, deliberate pacing, and even a simple music track, you can guide your audience through the information in a way that static slides just can't match.
Here's a quick look at how a video version of your presentation stacks up against the original slide deck.
PowerPoint Slides vs. Video Content at a Glance
This table quickly shows where video really shines compared to a standard, static PowerPoint file.
| Attribute | PowerPoint Presentation (Static) | Video Conversion (Dynamic) |
|---|---|---|
| Engagement | Passive; requires a presenter for context. | Active; holds attention with audio and visuals. |
| Reach | Limited; often shared via email as a large file. | Massive; easily shared on YouTube, LinkedIn, etc. |
| Accessibility | Limited to visual consumption. | High; narration and subtitles serve a wider audience. |
| Retention | Lower; information can be easily skimmed and forgotten. | Higher; multisensory experience improves recall. |
| On-Demand Use | Awkward to consume without a live presenter. | Perfect for self-paced learning and on-demand viewing. |
Ultimately, turning your presentation into a video is about making your content work harder for you. Here are the main wins:
- Increased Engagement: Videos are masters at capturing and holding attention way better than text or static slides.
- Wider Reach: People are far more likely to share a video on YouTube or LinkedIn than they are to download and forward a .pptx file.
- Improved Accessibility: With narration and subtitles, your content becomes accessible to people with visual impairments or those who prefer watching with the sound off.
Method 1: Use PowerPoint's Built-In Export Feature
Sometimes the simplest solution is the best one. The easiest way to get your PowerPoint slides into video format is by using the tool you already have open. PowerPoint’s own export function is surprisingly robust and perfect for when you need a quick, no-fuss conversion.
Think of this as your go-to for archiving a presentation or sharing an internal update without bringing in extra software.
This built-in tool is smart enough to handle all your carefully crafted slide transitions, animations, and even any audio or video you’ve embedded. It packages everything up into a standard video file, so you don’t have to be a tech wizard to get a decent result.
Choosing the Right Video Quality
When you go to export, PowerPoint will ask you about video quality. This choice is critical—it balances visual clarity with file size, and the right option depends entirely on where people will watch your video.
- Ultra HD (4K): Only pick this if you know your video will be shown on massive, high-resolution screens. The file size will be enormous, making it a nightmare to email or upload.
- Full HD (1080p): This is the gold standard for almost everything. It looks sharp and professional on platforms like YouTube or a company intranet, but the file size stays reasonable. For most business and educational videos, 1080p is your best bet.
- HD (720p): A solid backup option if you need a smaller file for a quick share. You might notice a little less crispness, especially if your slides have detailed text or small images.
- Standard (480p): Just don't. Unless you have absolutely no other choice, avoid this setting. The quality is low by today's standards and can make your work look amateurish.
Getting this right the first time saves you the headache of re-exporting a massive file because you picked the wrong setting.
Pacing Your Video with Timings and Narration
Beyond the technical settings, the most important part is the flow. How long does each slide appear on screen? This decision dictates the entire pace of your video.
You have a couple of options here. The first is to set a blanket duration, like "Seconds spent on each slide." PowerPoint often defaults to five seconds, but let’s be honest—a one-size-fits-all approach just doesn’t work. Your title slide doesn't need the same screen time as a slide packed with complex charts.
The secret to a great PowerPoint video is using the "Record Slide Show" feature before you export. This lets you record your voice and click through the slides naturally, capturing the timings and pauses just as if you were presenting live.
This method is a game-changer. It transforms your presentation from a robotic slideshow into a guided, human-led experience. It records not just your audio and timings but even your laser pointer movements, embedding them right into the video. It’s a simple step that makes a huge difference.
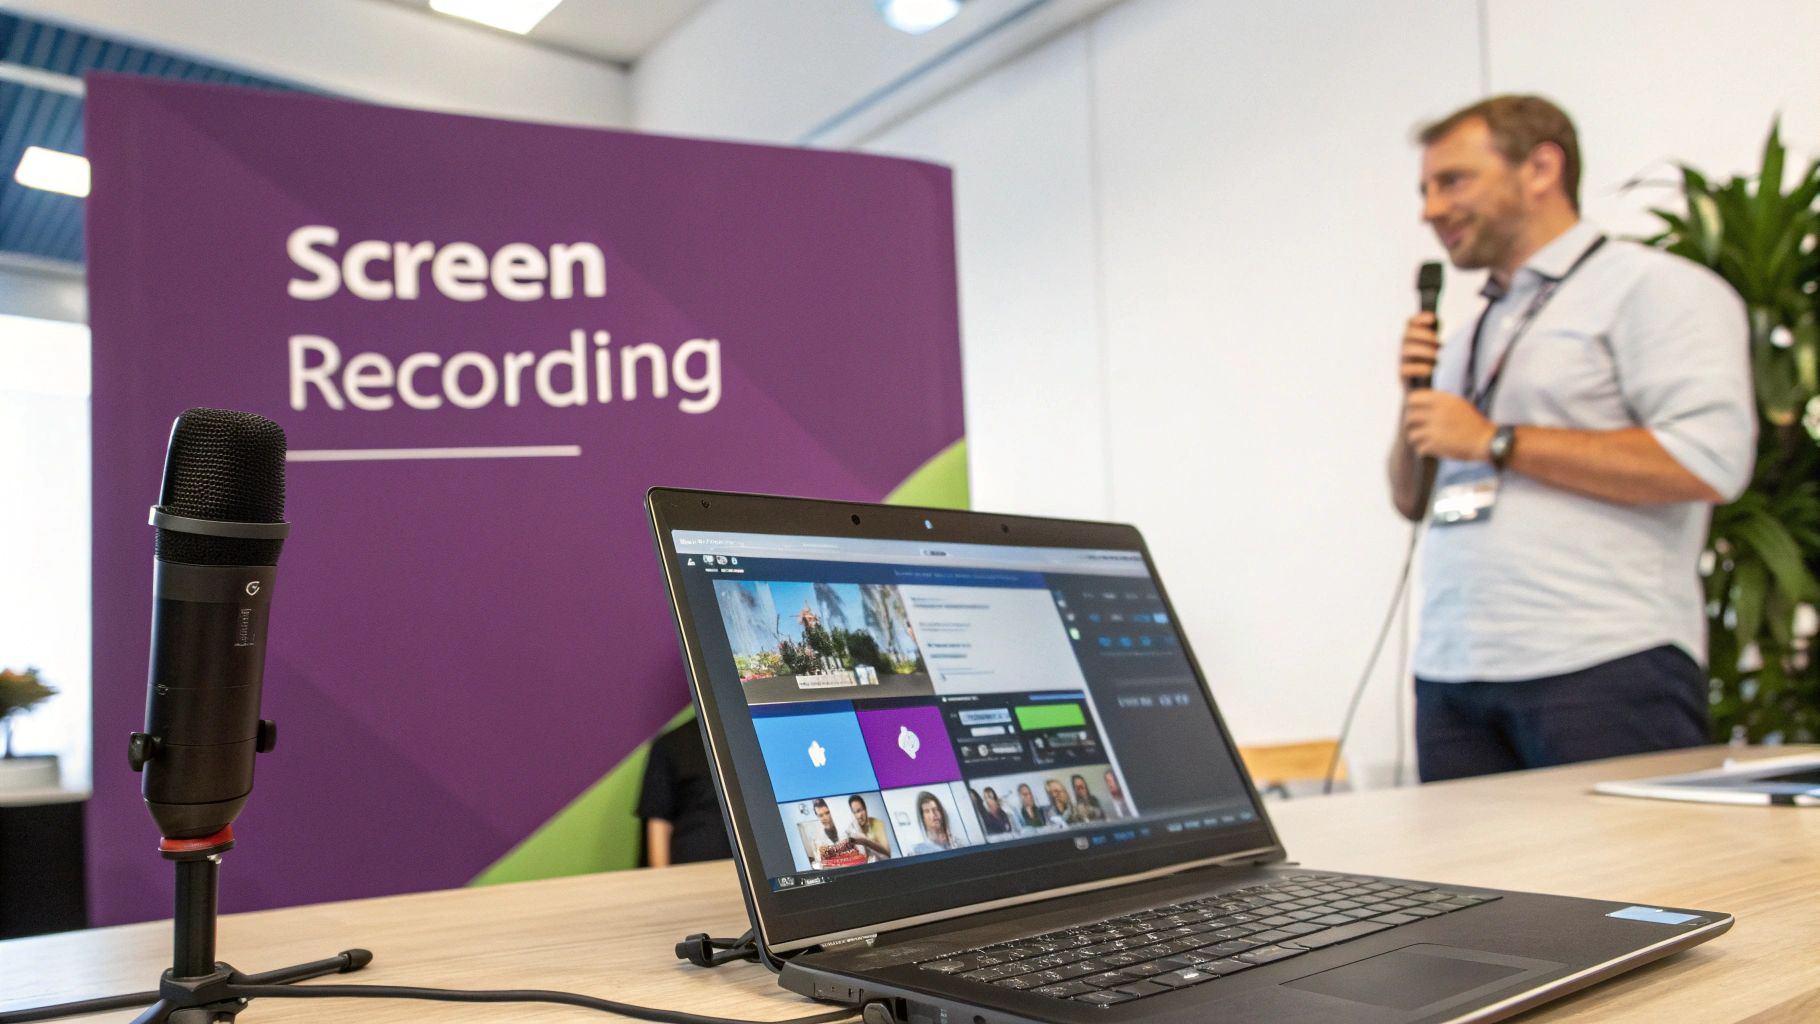
Method 2: Screen Record Your Presentation for a Personal Touch
Sometimes, PowerPoint's built-in export just feels a bit too… robotic. When you need to turn PowerPoint into video with a more human feel, screen recording is your best friend. This approach puts you in the driver's seat, giving you total control over the pacing and letting you add unscripted commentary. You can even jump out of your slides to show a quick software demo or walk through a website.
This is the perfect way to create a personalized sales pitch or an informal training session where your personality is just as important as the slide content. You're not just exporting a file; you're capturing a performance.
Essential Tools for Screen Recording
Good news: you don't need a professional studio to pull this off. You probably have the tools you need installed on your computer right now. The trick is just knowing what to use and when.
Here are a few popular options:
- Xbox Game Bar (Windows): Don't let the name fool you. While it was built for gaming, this built-in Windows tool is a surprisingly simple and effective way to record your screen and voice. Just hit Windows Key + G to get started.
- QuickTime Player (Mac): A classic for Mac users. QuickTime has a straightforward "New Screen Recording" feature that’s reliable and dead simple to use for capturing your presentation.
- Loom or OBS: For more power, third-party tools are the way to go. Loom is fantastic for quick, shareable recordings with webcam overlays. If you want granular control over every single aspect of your recording, OBS (Open Broadcaster Software) is a powerful, free option.
If you're new to this, a good guide on how to record your screen can be a great starting point for mastering these tools.
Best Practices for a Polished Recording
A great recording is about more than just hitting the red button. It's the small details that separate an amateur video from something that looks and feels professional. Your goal should be a viewing experience that feels authentic but still polished.
To get there, focus on a few key areas before you even think about recording.
A common mistake is trying to get everything perfect in one take. The real magic is in simple editing. A quick trim at the beginning and end of your video can instantly make it feel more professional.
To really elevate your final video, keep these practical tips in mind:
- Script Your Key Points: Don't read a full script word-for-word—that's a surefire way to sound robotic. Instead, jot down bullet points for each slide. This keeps you on track and stops you from rambling.
- Invest in Clear Audio: Your phone’s earbuds are a step up from your laptop’s built-in mic, but an affordable USB microphone will make the biggest difference in sound quality. Always test your levels before you start to avoid audio that's distorted or too quiet.
- Find a Quiet Space: This seems obvious, but background noise is incredibly distracting. Close the door, silence your phone, and let your family or roommates know you're recording to minimize interruptions.
- Perform a Test Run: Always, always do a short, one-minute test recording. This is your chance to catch any issues with your mic, screen resolution, or pacing before you invest your time in the full recording.
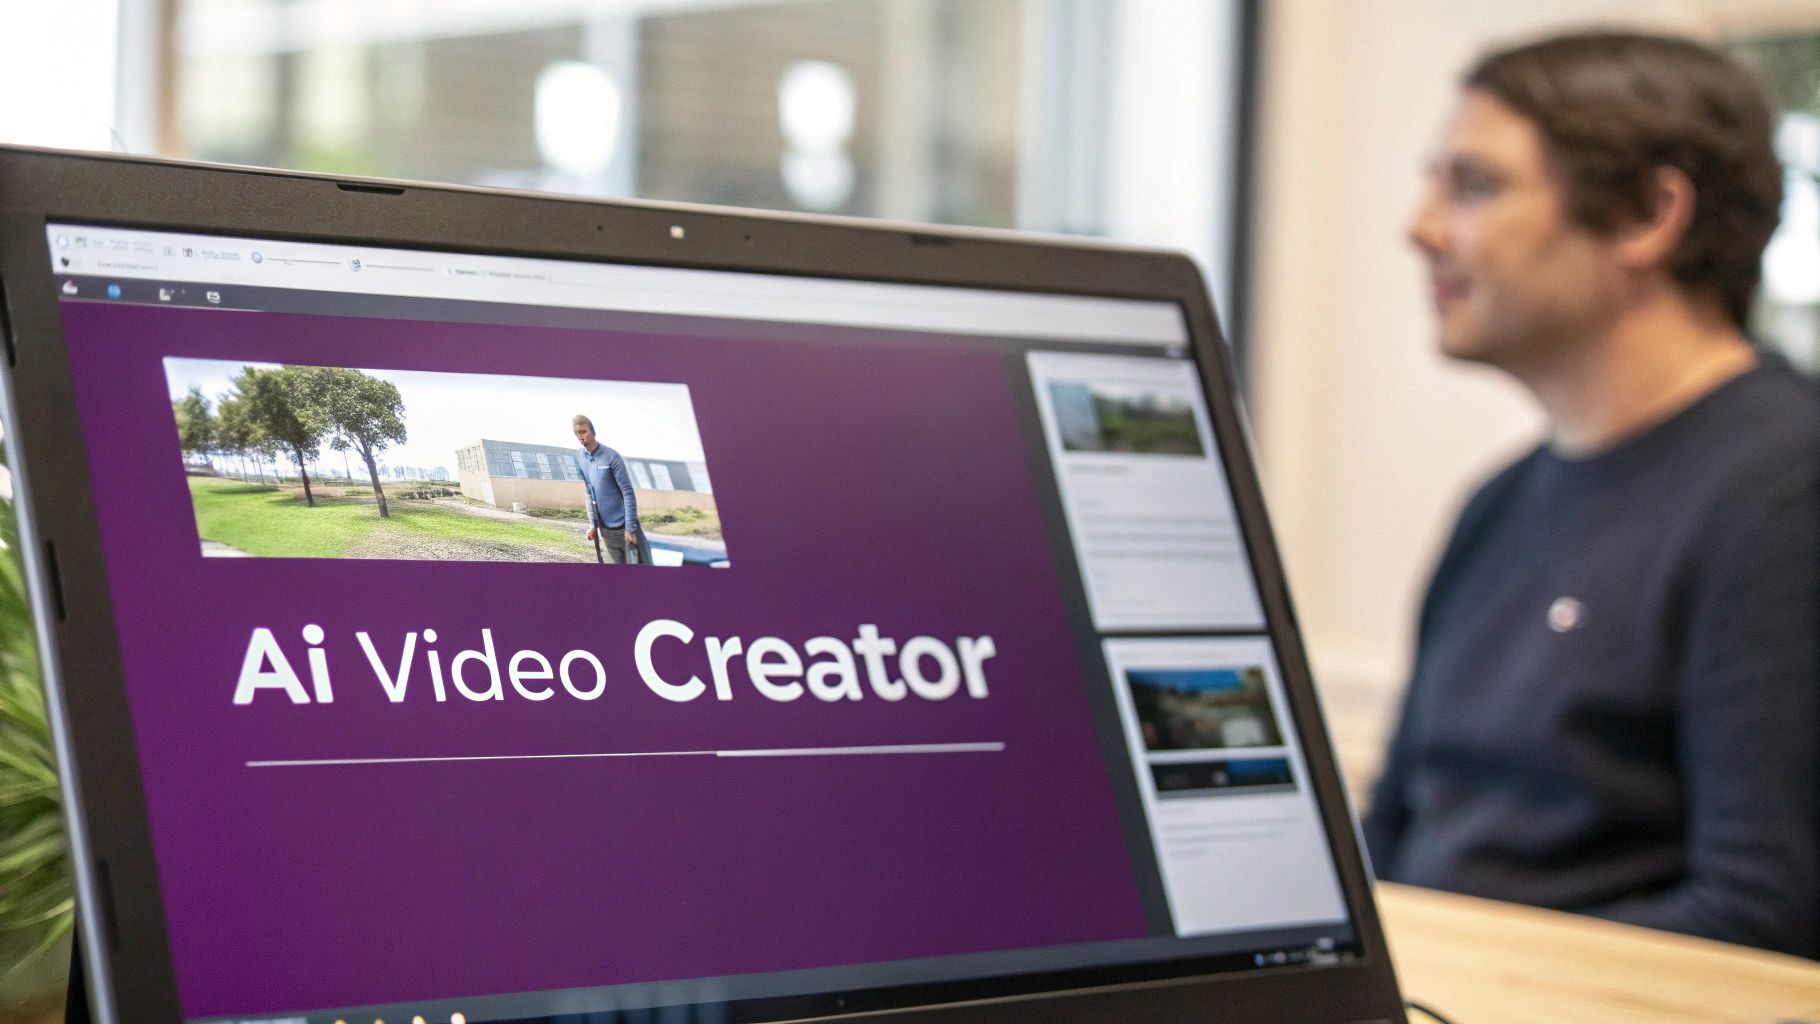
Method 3: Let AI Do the Heavy Lifting for You
If the built-in export and screen recording options feel a bit too hands-on, there's a third, more powerful route. Artificial intelligence has completely changed the game, turning a simple PowerPoint into video conversion into a full-blown automated production process. Modern AI tools can take your slide deck and spin up a polished video in minutes—script, narration, and all.
This approach is a lifesaver for anyone who needs to produce high-quality video content without a dedicated production crew or a ton of time. Think marketers, corporate trainers, or educators. The workflow is refreshingly simple: just upload your PowerPoint, and the AI takes over. It scans your slides, drafts a script from your text, and then builds a complete video with a digital presenter, a surprisingly human-sounding voiceover, and perfectly timed captions.
Why Go with AI-Powered Production?
What really makes this method stand out is just how much it automates while still giving you control. Forget about setting up a mic and recording your own voice—you can pick from a library of professional AI voices. Even better, you can clone your own voice to keep your brand's sound consistent across all your videos. Getting familiar with how an AI voice generator for videos works is a huge advantage here, as it can seriously elevate the final product.
Take a look at the LunaBloom AI platform. It’s designed to be clean and intuitive, letting you manage your video projects without getting lost in menus.
You can see how straightforward it is—just upload your file, and the AI handles the rest. This workflow packs in features that, not too long ago, were only available if you knew your way around complex editing software.
- AI Avatars: Have a photorealistic AI presenter narrate your presentation. It adds a human touch without you ever needing to step in front of a camera.
- Voice Cloning: Keep your audio branding on point by using a single cloned voice for all your video narrations.
- Automatic Subtitles: The AI generates and syncs subtitles on its own, which is a must-have for accessibility and for viewers watching on social media with the sound off.
- Multi-Language Support: Need to reach a global team or market? Instantly translate your script and voiceover into dozens of different languages.
A Fast-Moving Field
The world of AI video tools is exploding. What was once a niche market is now a multi-billion dollar industry filled with platforms built specifically for turning presentations into compelling videos. By 2025, the top tools were already offering photorealistic avatars, voice cloning in over 100 voices and 110 languages, and crisp 4K exports. It's no wonder that more than a third of marketing teams are now using text-to-video generators to repurpose their content.
This isn't just a time-saver; it’s a capability-unlocker. An AI platform can create ten localized versions of a single training video in the time it would take a human team to produce just one. That completely changes the economics of creating content at scale.
If you’re ready to give this a shot, platforms like LunaBloom AI are built to make it as painless as possible. It's the perfect solution when you need to create polished, engaging videos on a regular basis but don't want to get tangled up in the technical weeds of editing. The end result is a broadcast-quality video you can share anywhere.
Optimizing Your New Video for Maximum Impact
Alright, you've successfully created your video. That’s a huge step, but don't pop the champagne just yet. The real work begins now: making sure people actually see it and that it leaves a lasting impression.
Think of that video file you just exported as raw material. With a few extra steps, you can shape it into something powerful that connects with audiences, no matter where they're watching. This is where a simple video file transforms into a strategic asset.
Adapt Your Video for Every Platform
One of the most common mistakes is posting the exact same video file everywhere. A video that crushes it on YouTube will likely flop on Instagram Reels. Why? Because the context is completely different. The first thing you need to nail is the aspect ratio—the actual shape of your video.
- 16:9 (Widescreen): This is your standard for YouTube, Vimeo, and most videos embedded on a website. It’s the default format you get when you turn PowerPoint into video.
- 9:16 (Vertical): Absolutely essential for mobile-first platforms like Instagram Reels, TikTok, and YouTube Shorts. A vertical video fills the entire phone screen, which is a massive attention-grabber.
- 1:1 (Square): This is a super versatile option for the feeds on Instagram, Facebook, and LinkedIn. It takes up way more screen space than a widescreen video as people scroll, making it harder to ignore.
Before you hit "publish," think about where your audience lives online and tweak the aspect ratio to match. Most modern video editors make it pretty painless to reframe your content.
Make Your Content Accessible and Global
If you want to maximize your video's reach, you have to think beyond your core audience. This boils down to two critical elements: subtitles and localization.
First, adding subtitles (or closed captions) is no longer optional. It's a must. Not only does it make your content accessible for viewers with hearing impairments, but it also hooks the massive number of people who watch videos on social media with the sound off.
Localization is where things get really interesting, and it’s an area where AI-powered tools are a game-changer. These tools can translate your narration and subtitles into dozens of languages, opening up entirely new markets. This is how you truly scale video production. In fact, some platforms can now generate voiceovers and subtitles in over 110 languages, turning a single slide deck into a library of localized content.
Considering over 72% of consumers prefer getting product info through video, offering multiple languages is a huge competitive advantage. You can dig deeper into how AI studios are transforming video creation to learn more.
Don't treat subtitles and translations as an afterthought. They are core components of an inclusive and effective video strategy that can significantly boost engagement and reach a wider, more diverse audience.
A little post-production polish can make a world of difference. Here's a quick checklist to run through before you share your new video.
Video Optimization Checklist
| Optimization Step | Why It Matters | Recommended Tool/Method |
|---|---|---|
| Compress the File | Large files load slowly, frustrating viewers and hurting engagement. Smaller files are easier to share and embed. | Use an online tool like HandBrake or a built-in export setting in your video editor to reduce file size without losing quality. |
| Choose a Good Thumbnail | The thumbnail is the first thing people see. A compelling, high-quality image encourages clicks. | Design a custom thumbnail in Canva or grab a clear, engaging frame from the video itself. Avoid blurry or text-heavy images. |
| Add a Call-to-Action (CTA) | Tell viewers what you want them to do next, whether it's visiting your site, subscribing, or downloading a resource. | Add a text overlay, an end screen card (on YouTube), or include it directly in your video's narration. |
| Optimize the Title & Description | Search engines and platform algorithms use this text to understand your video's content, helping the right audience find it. | Include relevant keywords naturally. Write a clear, benefit-driven title and a detailed description explaining what the video is about. |
| Add Subtitles/Captions | Improves accessibility and engagement for viewers watching without sound. | Use your video platform's auto-captioning tool (like YouTube's) and then manually correct any errors for accuracy. |
By running through these steps, you ensure all the effort you put into converting your presentation actually pays off. Your video won't just be another file sitting on a server—it’ll be a polished, accessible, and high-performing piece of content ready to make an impact.
Common Questions About Converting PowerPoint to Video
Even with the best tools, you're bound to run into a few questions when you first start turning PowerPoints into videos. It's a new process for most people, and a few common roadblocks tend to pop up. Let's tackle them head-on.
How Long Should My Video Be?
There's no single magic number—the "right" length depends entirely on who you're talking to and what you want them to do. But I've found a few guidelines that work well in most situations.
- For social media or marketing: You've got to be quick. Aim for 1-3 minutes to grab attention in a feed where people are scrolling fast. Get in, make your point, and get out.
- For internal training or detailed tutorials: You have a bit more breathing room. A runtime of 5-10 minutes is fine, as long as the content is valuable and you're not just rambling.
The golden rule? Be ruthless with your editing. A 40-slide presentation should never, ever become a 40-minute video. Each slide is a visual cue, not a script to be read word-for-word. Focus on delivering one clear message as efficiently as you can.
A video's value isn't measured in minutes; it's measured in impact. A punchy two-minute video will always outperform a meandering ten-minute one.
Can I Edit the Video After Exporting It?
Absolutely. Once your PowerPoint is saved as an MP4 or WMV file, it’s just a standard video. You can drop it into any video editor you like, from a professional suite like Adobe Premiere to a free, user-friendly tool like Clipchamp.
This is where you can add those final touches—background music, b-roll footage, or cutting out that awkward pause you made. But if speed is your main goal, this is where AI tools really pull ahead. A platform like LunaBloom AI handles the narration, timing, and even adds an avatar presenter all at once, which can save you a ton of time in post-production.
What Is the Best Video Resolution and Format?
This one’s pretty straightforward. For the format, always go with MP4. It's the universal standard that works on pretty much every platform, device, and software imaginable.
For resolution, always aim as high as you can to keep your text and graphics looking sharp.
- 1080p (Full HD): This is your baseline. It delivers a crisp, professional look and makes sure any text on your slides is easy to read on most screens.
- 4K (Ultra HD): If you've got high-quality source images and want the absolute best visual fidelity, 4K is fantastic. It's especially great for videos that will be shown on large displays.
My advice is to never go below 1080p. A blurry, pixelated video just makes your content look unprofessional and can erode trust before you’ve said a word.
How Can I Make My Video More Engaging?
Engagement comes from the dynamic, human elements that a static slideshow is missing. Simply exporting slides with default timings is a recipe for a boring video.
You need to create a narrative. A compelling voiceover—whether it’s your own energetic recording or a polished AI voice—gives the audience a story to follow. Adding an AI avatar can create a real sense of human connection, making the information feel more personal and direct. And don't forget about sound! Subtle background music can set the mood, while subtitles make your video accessible and improve comprehension, especially for people watching with the sound off.
Ready to skip the manual work and create stunning videos from your presentations in minutes? LunaBloom AI uses advanced AI to generate professional narration, add customizable avatars, and produce broadcast-quality videos effortlessly. Transform your first PowerPoint today at LunaBloom AI.