Creating a great instructional video follows a simple, repeatable process: you plan your topic, create the video (with a camera or AI), edit it for clarity, and finally, publish it for your audience to find.
Getting this framework down turns a daunting task into a manageable workflow. It's the key to making content that is clear, engaging, and effective from the very first view.
Your Framework for High-Impact Instructional Videos
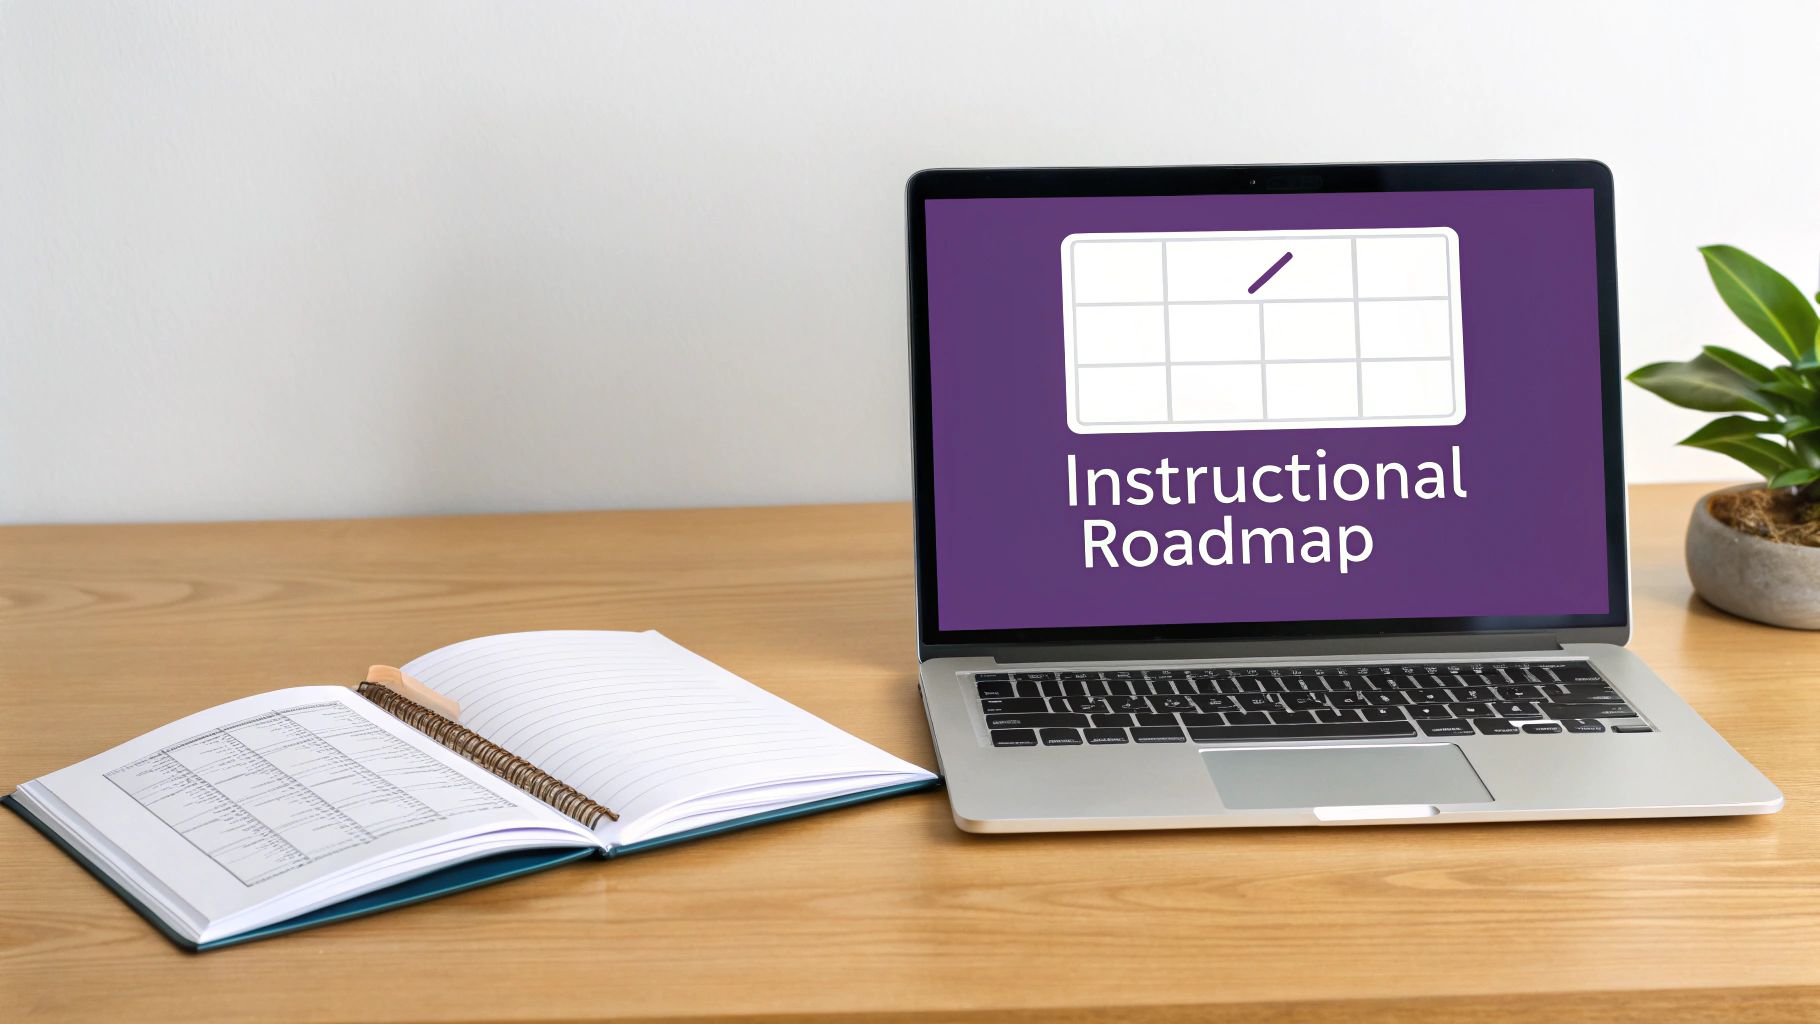
So, you want to make instructional videos that teach effectively and keep people watching? You're in the right place. Before we dive into the details of microphones and editing software, let's look at the big picture. Think of this as your roadmap from idea to finished video.
It doesn't matter if you're making a quick software demo, a detailed training module, or a complete online course. Every successful instructional video moves through five key stages. Understanding this process gives you the confidence to tackle each step without getting lost.
The Five Core Phases of Video Creation
The real work begins long before you hit "record." A structured approach is what separates polished, professional content from confusing, amateur videos. This method is a lifesaver, whether you're working alone or as part of a larger team.
Here’s a quick overview of the workflow.
| Instructional Video Creation Workflow at a Glance |
| :— | :— | :— |
| Phase | Primary Goal | Key Activities |
| 1. Planning & Scripting | Establish a clear learning objective and road map. | Define audience, outline content, write the script. |
| 2. Production Method | Choose the right tools for your budget and style. | Decide between live-action filming or AI video generation. |
| 3. Editing & Polishing | Transform raw footage into a professional video. | Cut mistakes, add graphics, balance audio, insert B-roll. |
| 4. Publishing & Promotion | Get your video in front of the right people. | Optimize for search, upload to platforms, share on social. |
| 5. Measuring & Improving | Understand what works and refine your strategy. | Track views, engagement, and completion rates. |
Following these phases in order makes the whole process feel less chaotic and more like a repeatable science.
Let's break down what each stage involves:
- Planning and Scripting: This is your foundation. Here, you define who you're teaching, what they need to learn, and write a script that guides them there. A solid plan prevents rambling and keeps your video focused.
- Choosing a Production Method: Will you be on camera, or is an AI video generator a better fit? This decision shapes your budget, timeline, and the final look of your video.
- Editing and Polishing: This is where you transform raw clips into a professional final product. You'll cut mistakes, add graphics, and ensure the audio is crystal clear.
- Publishing and Promotion: A great video is useless if no one sees it. This step involves uploading to platforms like YouTube, optimizing it for search, and sharing it with your audience.
- Measuring and Improving: Once your video is live, the data starts coming in. Analytics show what viewers liked, where they lost interest, and how you can make your next video even better.
A well-structured workflow is your most valuable asset. It removes the guesswork from video creation and ensures you consistently produce high-quality instructional content that resonates with your viewers.
When you use this framework, you're building a system for success. Each phase builds on the last, guiding you from a simple idea to a polished, impactful video that achieves its primary goal: to teach.
If you’re eager to learn more about the nuts and bolts of making educational content that clicks, check out these excellent tips for creating effective tutorial videos.
Nail Your Plan Before You Even Think About Recording
Let's be honest: great instructional videos don't happen by accident. They're built on a solid plan. This pre-production phase is what separates sharp, professional content from the rambling videos that make viewers click away. Rushing this part is a recipe for a confusing mess.
Start by answering one simple question: What’s the one thing you want your viewer to be able to do after watching? Your answer is your learning objective. Resist the urge to cram too much information into a single video.
For instance, if your video is titled "How to Set Up Your New Email Account," stick to that topic. Don't get sidetracked by advanced features like filters or calendar integrations. Save those for other videos. This keeps your content focused and respects your viewer's time.
A great instructional video solves one specific problem. When you focus on a single, clear learning objective, your video becomes direct, concise, and incredibly easy for viewers to follow and use.
Once your goal is clear, consider your audience. Are they complete beginners who need every step explained, or are they experts looking for a quick tip? Tailoring your language and level of detail to your audience is key to keeping them engaged.
Outlining Your Video's Flow
With your objective and audience defined, it's time to create an outline. This isn't the full script—it's the skeleton that gives your video structure. A simple three-part structure works perfectly for most how-to videos.
- The Hook (Intro): Start by clearly stating the problem you're solving and what the viewer will learn. This immediately confirms they're in the right place. For example: "In the next three minutes, I'll show you exactly how to connect your new wireless printer to your Wi-Fi."
- The Core Lesson (The 'How-To'): This is the main part of your video. Break down the process into logical, easy-to-follow steps. This is where you demonstrate the task, either through a screen recording or a real-world example.
- The CTA (Conclusion): Wrap up with a quick summary and tell them what to do next. This could be subscribing to your channel, reading a related article, or watching the next video in a series.
This structure creates a natural flow that guides your viewer from start to finish.
Writing a Script That Actually Connects
With your outline ready, you can write the script. It's tempting to "wing it," but a script ensures clarity and efficiency. It prevents you from forgetting important steps, using filler words like "um" and "uh," or going off on tangents.
Write in a conversational, natural tone, as if you're explaining something to a friend.
Here are a few tips to help:
- Read It Out Loud: Always read your script aloud. You'll instantly catch awkward phrasing or sentences that are too long.
- Keep It Simple: Avoid jargon. If a technical term is necessary, explain it. Otherwise, use simple language everyone can understand.
- Be Direct: Use clear, action-oriented language. Instead of "It is possible to adjust the settings here," say, "Click here to adjust your settings."
Visualizing Your Shots with a Storyboard
The final pre-production step is the storyboard. You don't need to be an artist—stick figures and quick sketches are fine. A storyboard is a visual map of your video, showing what will appear on screen for each part of your script.
For a software tutorial, your storyboard might be a sequence of screenshots with notes on what to highlight. For a hands-on video, it could be rough sketches of camera angles. This step helps ensure your visuals and narration align perfectly, whether you're filming or using AI.
Choosing Your Video Production Method
Okay, your script and storyboard are ready. Now for the fun part: bringing your idea to life. At this stage, you have two main options, each with its own strengths depending on your goals, budget, and timeline.
The first is the traditional method: filming with a camera, microphone, and lights. The second is the modern AI-powered workflow, where you use a tool like LunaBloom AI to generate a video from your script without any recording.
So, which one is right for you? Let's explore both.
The Traditional On-Camera Approach
Filming with a camera is a classic for a reason. It builds a genuine connection, especially when you appear on screen, and is perfect for demonstrating physical products or real-world tasks. You don't need a huge budget; high-quality equipment is more affordable than ever.
Here's the essential gear you'll need:
- Camera: Your smartphone is a great starting point. Modern phones shoot in crisp HD, which is sufficient for professional-looking videos. For more creative control, you can upgrade to a DSLR or mirrorless camera.
- Microphone: This is non-negotiable. Poor audio is the fastest way to lose viewers. A simple lavalier (lapel) mic or a USB microphone will dramatically improve your audio quality.
- Lighting: Good lighting separates amateur videos from professional ones. A simple ring light or a two-point softbox kit can eliminate shadows and create a bright, appealing look. Even better, natural light from a window is free—just make sure you're facing it.
This method offers complete creative freedom but requires more time for setup, recording, and editing.
The Modern AI-Powered Workflow
What if you're short on time, dislike being on camera, or need to produce videos consistently? This is where AI video generators shine. Platforms like LunaBloom AI can transform your script into a high-quality instructional video in a fraction of the time.
The process is incredibly simple: paste your script, choose an AI presenter and voice, and the platform assembles the video for you.
The rise of AI-driven video creation has completely changed the game. It tears down the technical walls of filming and editing, letting anyone transform a script into a professional video with reliable quality and branding—all in just a few minutes.
This workflow is perfect for software tutorials, corporate training videos, or any informational content where clarity and efficiency are key. It eliminates the need for expensive gear, a quiet recording space, and hours of editing.
This flowchart can help you decide which path makes the most sense for your project.
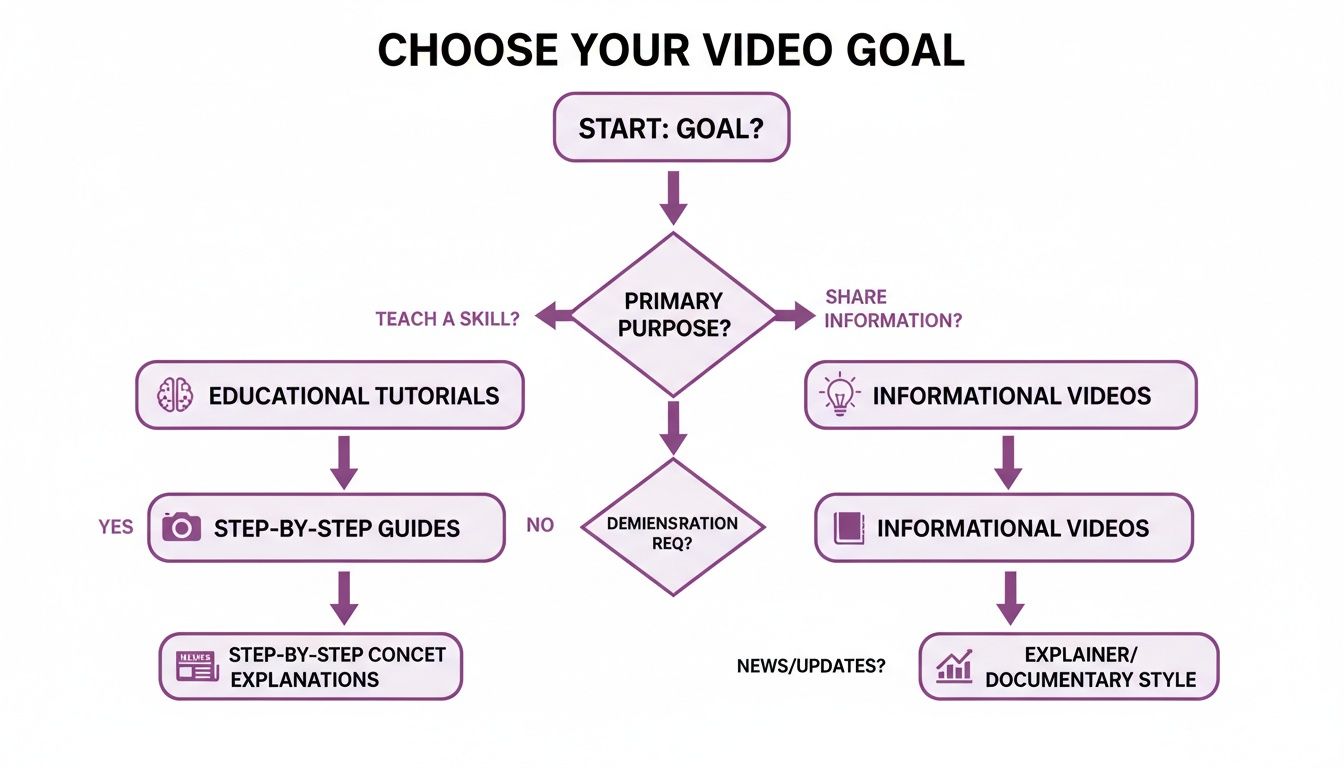
As you can see, teaching a physical skill often works best with traditional filming, while sharing information can be done more efficiently with AI.
Comparing the Two Methods: A Side-by-Side Look
This table breaks down the key differences between traditional recording and AI-powered video to help you choose the best method for your project.
| Factor | Traditional Recording | AI-Powered Video (e.g., LunaBloom AI) |
|---|---|---|
| Time Investment | High (setup, filming, editing can take hours or days) | Low (generates videos in minutes from a script) |
| Cost | Can be high (gear, software, potential studio space) | Low (affordable subscription, no gear needed) |
| Skills Required | Filming, lighting, audio setup, and video editing | Basic writing and computer skills |
| On-Camera Presence | Required for personal connection and demonstrations | Not required; uses realistic AI presenters |
| Scalability | Difficult to scale; each video is a new project | Highly scalable; can produce many videos quickly |
| Consistency | Can vary based on setup, energy levels, and environment | Perfectly consistent branding, pacing, and quality |
| Best For | Hands-on tutorials, product reviews, personal brand building | Software demos, training modules, informational content |
Ultimately, the right choice depends on your priorities. If you want a personal touch and have the time and resources, traditional recording is a solid choice. If speed, consistency, and scalability are what you need, an AI-powered workflow is the clear winner.
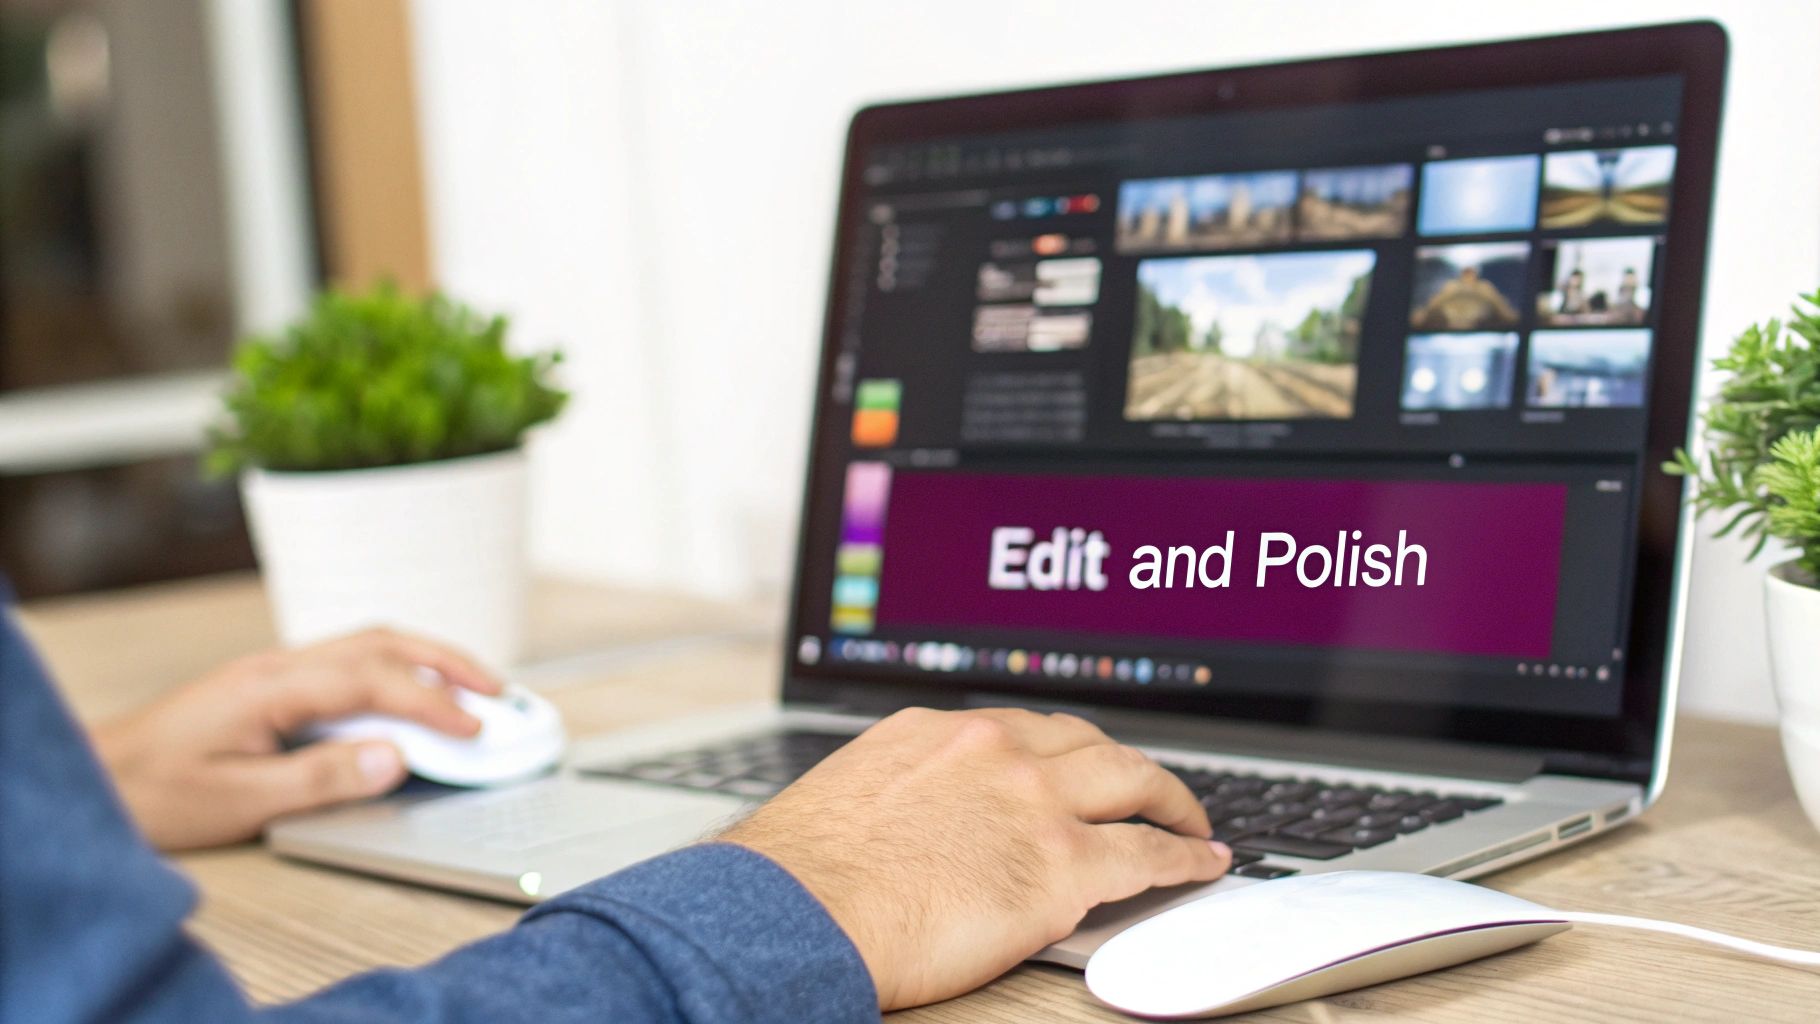
Editing and Polishing Your Final Video
This is where the magic happens. All your planning and recording efforts come together in the editing phase. Whether you're using traditional software or an AI platform, your goal is to shape your raw material into a clean, professional video that's enjoyable to watch.
The main objective isn't to add flashy effects, but to ensure clarity and create a smooth learning experience for your audience.
Whether you're working with live-action footage or AI-generated clips, the mission is the same: make the learning experience seamless.
Refining Your Traditionally Filmed Video
If you shot your own footage, your first task is to assemble the best takes. This involves cleaning up mistakes, tightening the pacing, and adding visuals that keep your viewer focused.
Start by importing your video and audio into a user-friendly editor like Camtasia or Descript. These tools are great for beginners yet powerful enough for most instructional content. Your first pass should be a "rough cut"—chopping out mistakes, long pauses, and filler words.
Once the core message is in place, you can add polish.
- Add Smooth Transitions: Stick to simple cuts or subtle fades. Avoid flashy transitions that can distract from your content.
- Overlay Text and Graphics: Use text callouts to emphasize key terms or list steps. Simple arrows and shapes are effective for pointing out where to click in a screen recording.
- Balance Your Audio: Ensure your voice is crisp, clear, and at a consistent volume. A quiet, royalty-free music track in the background can add a professional touch, but keep it low so it doesn't overpower your narration.
The best editing is invisible. You want to remove every possible distraction so the viewer can focus completely on what you're teaching, not on how the video was put together.
Polishing Your AI-Generated Content
If you used a tool like LunaBloom AI, most of the heavy lifting is already done. The platform has already combined the avatar, visuals, and narration. Your role is to review and refine the final product.
Instead of cutting mistakes, you'll fine-tune the presentation. You might adjust the timing of a scene to give a concept more room to breathe, or swap the default background music for a track that better fits your brand. This is also a good time to add your company logo as a watermark.
With AI-generated video, editing is about making small, deliberate tweaks to elevate a good video to a great one.
The Non-Negotiable Step: Adding Captions
No matter how you created your video, adding captions is essential. It's not just a nice-to-have; it's crucial for accessibility and engagement. Many people watch videos on social media with the sound off, and without captions, your message is lost.
Data shows that videos with captions have better viewer comprehension and retention. They make your content accessible to viewers who are deaf or hard of hearing and help non-native speakers follow along.
To do this efficiently, use one of the best video to text converter tools. Many use AI to transcribe your audio accurately, saving you time. Simply upload the generated caption file (usually an .SRT file) to your publishing platform.
Publishing and Promoting Your Video for Maximum Reach
You've put in the work to script, create, and edit a fantastic video. But it won't help anyone if they can't find it. Publishing isn't just about uploading; it's about strategically setting up your video to connect with the right audience from the moment it goes live.
Think of YouTube as a storefront and your video as the product. You wouldn't just place a product on a random shelf and hope for the best. You need the right packaging and placement to attract people who are actively looking for what you offer.
Optimizing Your Video for Search
Video SEO is about making your content appear when people search for it on platforms like YouTube and Google. It starts with understanding what your audience is typing into the search bar. Your goal is to align your video’s metadata with their search terms.
Your title is the first thing people see. It needs to be clear, promise a benefit, and include your main keyword. "Software Tutorial" is forgettable. "How to Master Pivot Tables in Excel in Under 10 Minutes" is a title that works. It tells viewers exactly what they'll get and how quickly.
Your video's description is also important. The first few lines often appear in search results, so use this space to hook the viewer and include your primary keyword. Below that, provide a more detailed explanation, add timestamps for key moments, and link to any mentioned resources.
Your custom thumbnail is arguably the most critical factor for getting clicks. It’s the billboard for your video, and a well-designed, high-contrast image with bold text can dramatically increase your click-through rate.
Beyond the Upload Button
Once your video is live, shift from creator to promoter. Don't just wait for the algorithm to notice you. Actively share your content across your other channels to send signals that your video is valuable.
Here are a few simple promotional tactics that work:
- Embed it in a Blog Post: Write an article on your website that expands on the video's topic and embed the video directly on the page. This adds value for readers and boosts both views and your website's SEO.
- Share Clips on Social Media: Create a short 30-second "quick tip" from your main video and share it natively on platforms like LinkedIn, Instagram, or X. This acts as a teaser to drive traffic to the full video.
- Feature it in Your Email Newsletter: Announce your new video to your email list, framing it as a solution to a problem they may have.
This integrated approach ensures your hard work pays off. The demand for this type of content is exploding. The video learning platform market was valued at around USD 2.5 billion in 2023 and is projected to hit USD 9.7 billion by 2032. You can read the full research about this explosive market growth to understand the opportunity.
Using Analytics to Create Better Instructional Videos
So, your video is published. Job done? Not quite.
The real magic happens when you dig into the data and see how viewers are interacting with your content. This is how you transition from making good instructional videos to creating truly great ones.
Your video platform's analytics dashboard is a goldmine of information. It eliminates guesswork by showing you what's working and what isn't. By focusing on a few key metrics, you can gain a deep understanding of your audience's behavior.
Key Metrics to Track for Improvement
It’s easy to get lost in all the charts and graphs. Instead, focus on the numbers that tell a clear story about audience engagement.
Here’s what you should monitor:
- Audience Retention: This graph shows, second-by-second, where viewers are dropping off. A sharp dip might indicate a confusing or slow-paced section, revealing weak spots in your script or edit.
- Average Watch Time: This metric tells you how long people stick around on average. If your 10-minute video has an average watch time of two minutes, it's a sign that your intro isn't engaging enough or isn't delivering on its promise.
- Click-Through Rate (CTR): This shows the percentage of people who saw your video's thumbnail and title and clicked to watch. A low CTR often points to a problem with your packaging—your thumbnail isn't eye-catching, or your title isn't compelling.
By consistently analyzing your audience retention data, you can identify patterns in what keeps viewers engaged. This insight is your roadmap to creating more effective instructional videos over time.
This data-driven approach is more important than ever. The instructional video market, a huge part of the video-on-demand industry, reached USD 2,171.1 million in 2024 and is expected to grow to USD 9,333.9 million by 2030. People retain 95% of a message from a video compared to just 10% from text. You can discover more insights about this growing market to see the potential.
Turning Insights Into Action
Now that you have the data, it's time to act on it.
If your retention chart shows a significant drop-off during a long screen recording, try adding more dynamic visuals, text callouts, or zoom-ins in your next video.
If your CTR is low, experiment with different thumbnail styles or A/B test new titles that focus on the viewer's benefit.
This cycle of publishing, measuring, and refining is the key to a successful video strategy. It helps you stop guessing and start creating content that consistently delivers results.
Your Top Questions About Instructional Videos, Answered
When you're starting out with instructional videos, a few common questions always come up. Let's tackle them so you can move forward with confidence.
How Long Should an Instructional Video Be?
The golden rule is simple: as long as it needs to be and not a second longer. For a quick tip on social media, under two minutes is ideal. For a detailed software tutorial on YouTube, 5-10 minutes is a common length.
Dedicate each video to a single learning goal. Once you have content published, check your analytics. Where do people drop off? That data tells you how long your next video should be.
Stop worrying about hitting a specific time. The real goal is to deliver value as efficiently as possible. A video that solves a problem in 90 seconds is infinitely better than a 10-minute video that drags on.
What Is the Best Software for Making Instructional Videos?
The best tool depends on your workflow and comfort level. There isn't a single "best" option, but here are top picks based on your style:
- For the Hands-On Creator: If you're a beginner who wants to record your screen and edit your own footage, tools like Descript or Camtasia are fantastic. They offer an all-in-one solution for recording and editing.
- For Maximum Efficiency: If you need to produce high-quality videos quickly without being on camera, AI video generators are your best bet. They take your script and automate the entire production process.
Can I Make Good Videos Without Showing My Face?
Absolutely. There are a couple of great ways to do this.
Screencasts—recording your screen while you narrate—are a highly effective and popular format. They keep the viewer's focus on the steps you're demonstrating.
Another excellent option is using an AI video generator like LunaBloom AI. This technology creates a realistic AI avatar to present your material, giving you a human connection without the time and effort of filming yourself. It’s a game-changer for scaling your video production.
Ready to create stunning instructional videos in minutes, without any cameras or microphones? Discover how LunaBloom AI can turn your script into a professional video with just a few clicks. Start creating for free at https://lunabloomai.com.