Adding a voiceover is simple at its core: you record narration and sync it with your video. But it’s really much more than that. It’s the art of using a guiding voice to tell a story, explain complex ideas, or create a genuine emotional connection with your audience.
This guide will walk you through exactly how to do it, from picking the right method to polishing the final audio.
Why a Great Voiceover is a Game Changer
Before diving into the “how,” let’s cover the “why.” A killer voiceover transforms your video from a simple collection of clips into a powerful, coherent narrative. It’s the invisible hand guiding your viewer, making sure your message doesn’t just get heard, but truly lands.
Think about it: a professional-sounding voiceover instantly builds trust. When someone hears a voice that’s confident and clear, they’re far more likely to see your content as credible and polished. This is especially important for explainer videos or marketing content where clarity is everything.
The Impact on Viewer Engagement
The right narration can be the difference between a viewer clicking away after 10 seconds or watching your entire video. A voiceover simplifies complex topics in tutorials, adds emotional weight to brand stories, and keeps the audience focused on what matters. A documentary without a narrator is just a montage; the voiceover provides the context and flow that makes it compelling.
This isn’t just a hunch; the data backs it up. Marketers have learned just how much voiceovers boost video performance. In fact, 66% of video marketers use voiceovers because they help grab attention and keep people watching. This is huge, especially when you consider that 87% of marketers say video has directly helped them generate more leads and sales. You can explore more video marketing stats at GenTechMarketing.com.
A voiceover is the bridge between what your audience sees and what you want them to feel. It turns passive viewing into an active, engaging experience.
Ultimately, understanding the power of a quality voiceover is the first step toward creating videos that don’t just get watched, but get felt.
Choosing the Right Voiceover Method for Your Project
When deciding how to add a voiceover to your video, the best route depends on your goals, timeline, and budget. You have three main paths: recording your own voice, hiring a professional voice actor, or using an AI voice generator.
Each option comes with its own trade-offs. Recording yourself adds an authenticity that’s tough to beat, especially for personal brands. A professional brings a polished, broadcast-ready quality that boosts credibility. And AI offers incredible speed and flexibility, making it a lifesaver for projects with tight turnarounds.
At the end of the day, a good voiceover isn’t just about reciting words. It’s about making the viewer feel something.
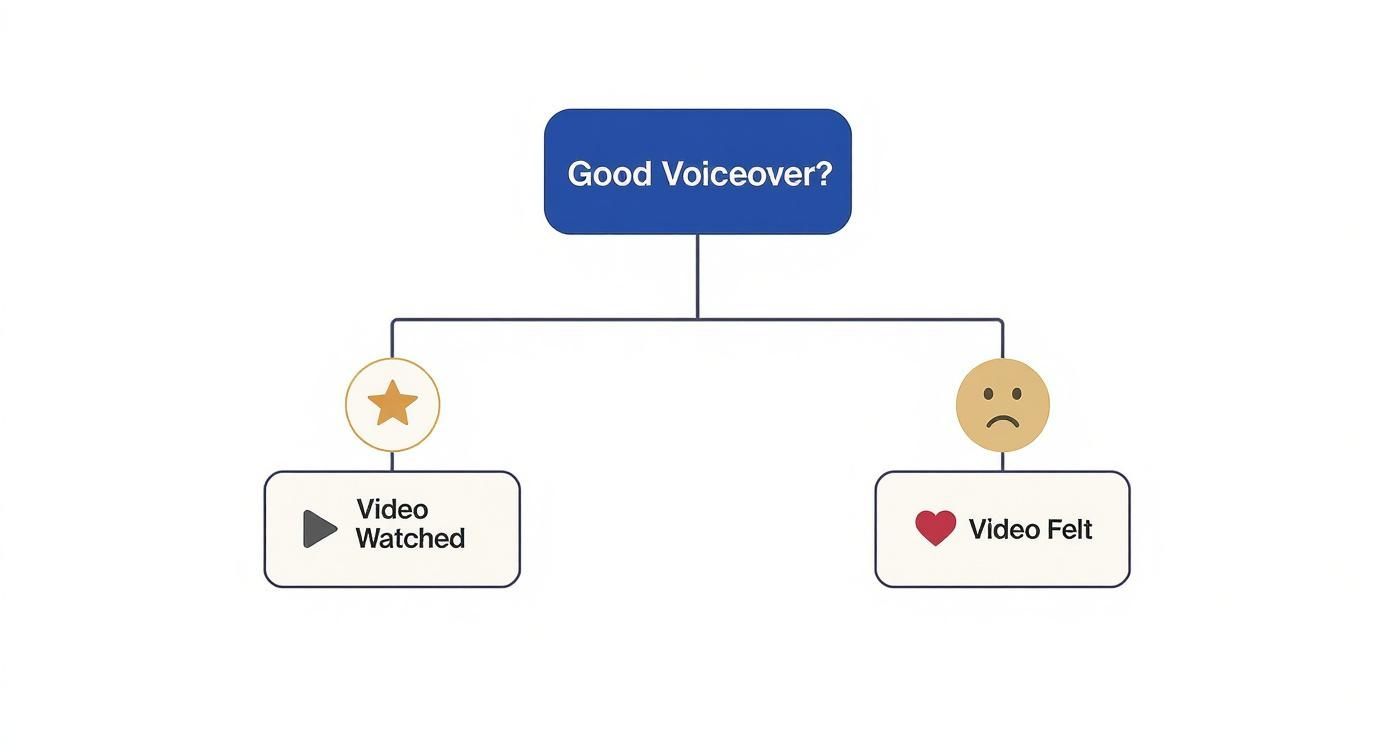
This flowchart nails a key point: any video can be watched, but a quality voiceover is what turns passive viewing into an experience that truly connects with your audience.
Comparing Your Voiceover Options
Still not sure which path is right for you? This table breaks down the three main approaches to help you match the method to your project.
| Method | Best For | Pros | Cons |
|---|---|---|---|
| DIY Recording | Personal vlogs, tutorials, internal training, creator-driven content. | Unmatched authenticity, total creative control, cost-effective. | Requires a quiet space and decent mic; can be time-consuming to get right. |
| Hiring a Professional | Marketing campaigns, commercials, official brand announcements. | Polished, broadcast-quality sound, expert delivery, saves you time. | Higher cost, less direct control over the recording process. |
| Using AI | Rapid content production, multilingual videos, consistent branding. | Incredibly fast, scalable for multiple languages, cost-efficient, consistent. | Can sometimes lack the emotional nuance of a human actor. |
Each option has its place. The “best” one is simply the one that aligns with your resources and the impression you want to make.
DIY Your Voiceover for Authenticity
If you’re creating personal vlogs, tutorials, or internal company videos, your own voice is almost always the right call. It creates a direct connection with your audience because they’re hearing the message straight from you. The trick is getting a clean recording, and you don’t need a professional studio for that.
A decent USB microphone and a quiet room are your biggest allies. A pro tip? Record in a room with lots of soft surfaces, like a closet full of clothes or a carpeted bedroom. This simple trick dramatically cuts down on echo and gives your audio a much cleaner sound.
Hire a Professional for a Polished Sound
When does it make sense to bring in a professional? For high-stakes projects—think major marketing campaigns or official brand videos—a professional voice actor is worth every penny. They bring a level of vocal control and experience that’s nearly impossible to replicate on your own.
A professional voice actor doesn’t just read a script; they perform it. They understand pacing, intonation, and emotional delivery, ensuring your message lands with maximum impact.
Finding the right talent is easier than ever. Platforms like Voices.com or Fiverr let you browse countless demos to find an actor who perfectly captures your brand’s personality.
Use AI for Speed and Scalability
For creators on a tight schedule or those aiming for a global audience, AI voice generators are a game-changer. Tools like LunaBloom AI can turn a script into a high-quality voiceover in minutes, not days. This approach is perfect for:
- Rapid Prototyping: Instantly test different scripts or timings without booking a recording session.
- Multilingual Content: Create voiceovers in dozens of languages to expand your reach internationally, all from the same script.
- Consistency: Maintain the exact same vocal tone across an entire video series for perfect brand cohesion.
The technology has come a long way. Today’s AI voices are surprisingly realistic and can even convey emotional nuance, offering a powerful mix of quality, speed, and cost-effectiveness.
How to Record and Import Your Own Voiceover
If you’ve decided the authentic touch of your own voice is the right move, it’s time to get hands-on. Recording your own narration is surprisingly straightforward. With a little preparation, you can achieve a clean, professional sound without a full recording studio.
The secret sauce is preparation. A little groundwork here saves a massive amount of editing headaches later.
Preparing Your Script and Space
First, write a script. But don’t write an essay. Use conversational language and shorter sentences so it sounds natural, not like you’re reading. Reading it out loud a few times is a great way to catch any clunky phrasing before you hit record.
Next, prepare your recording space. Background noise is the enemy of clean audio.
- Find a quiet room: Pick a spot away from street traffic, humming appliances, or chatty roommates.
- Dampen the sound: Hard surfaces like bare walls create echo. A room with carpets, curtains, or even a walk-in closet is perfect because the soft surfaces absorb sound.
- Get close to your mic: Position your microphone about 6-8 inches from your mouth. This captures your voice clearly while minimizing room noise.
A great recording is 80% environment and 20% equipment. A quiet, well-dampened room with a basic mic will always sound better than an expensive microphone in a noisy, echo-filled space.
With your script and space ready, you can start recording.
Recording Directly in Your Editor
Most modern video editors, from professional tools like Adobe Premiere Pro to accessible apps like CapCut, let you record audio directly onto your timeline. This method is fantastic because you can watch the video and time your narration perfectly with the on-screen action.
Here’s a look at a simple but effective home setup that you can easily replicate.
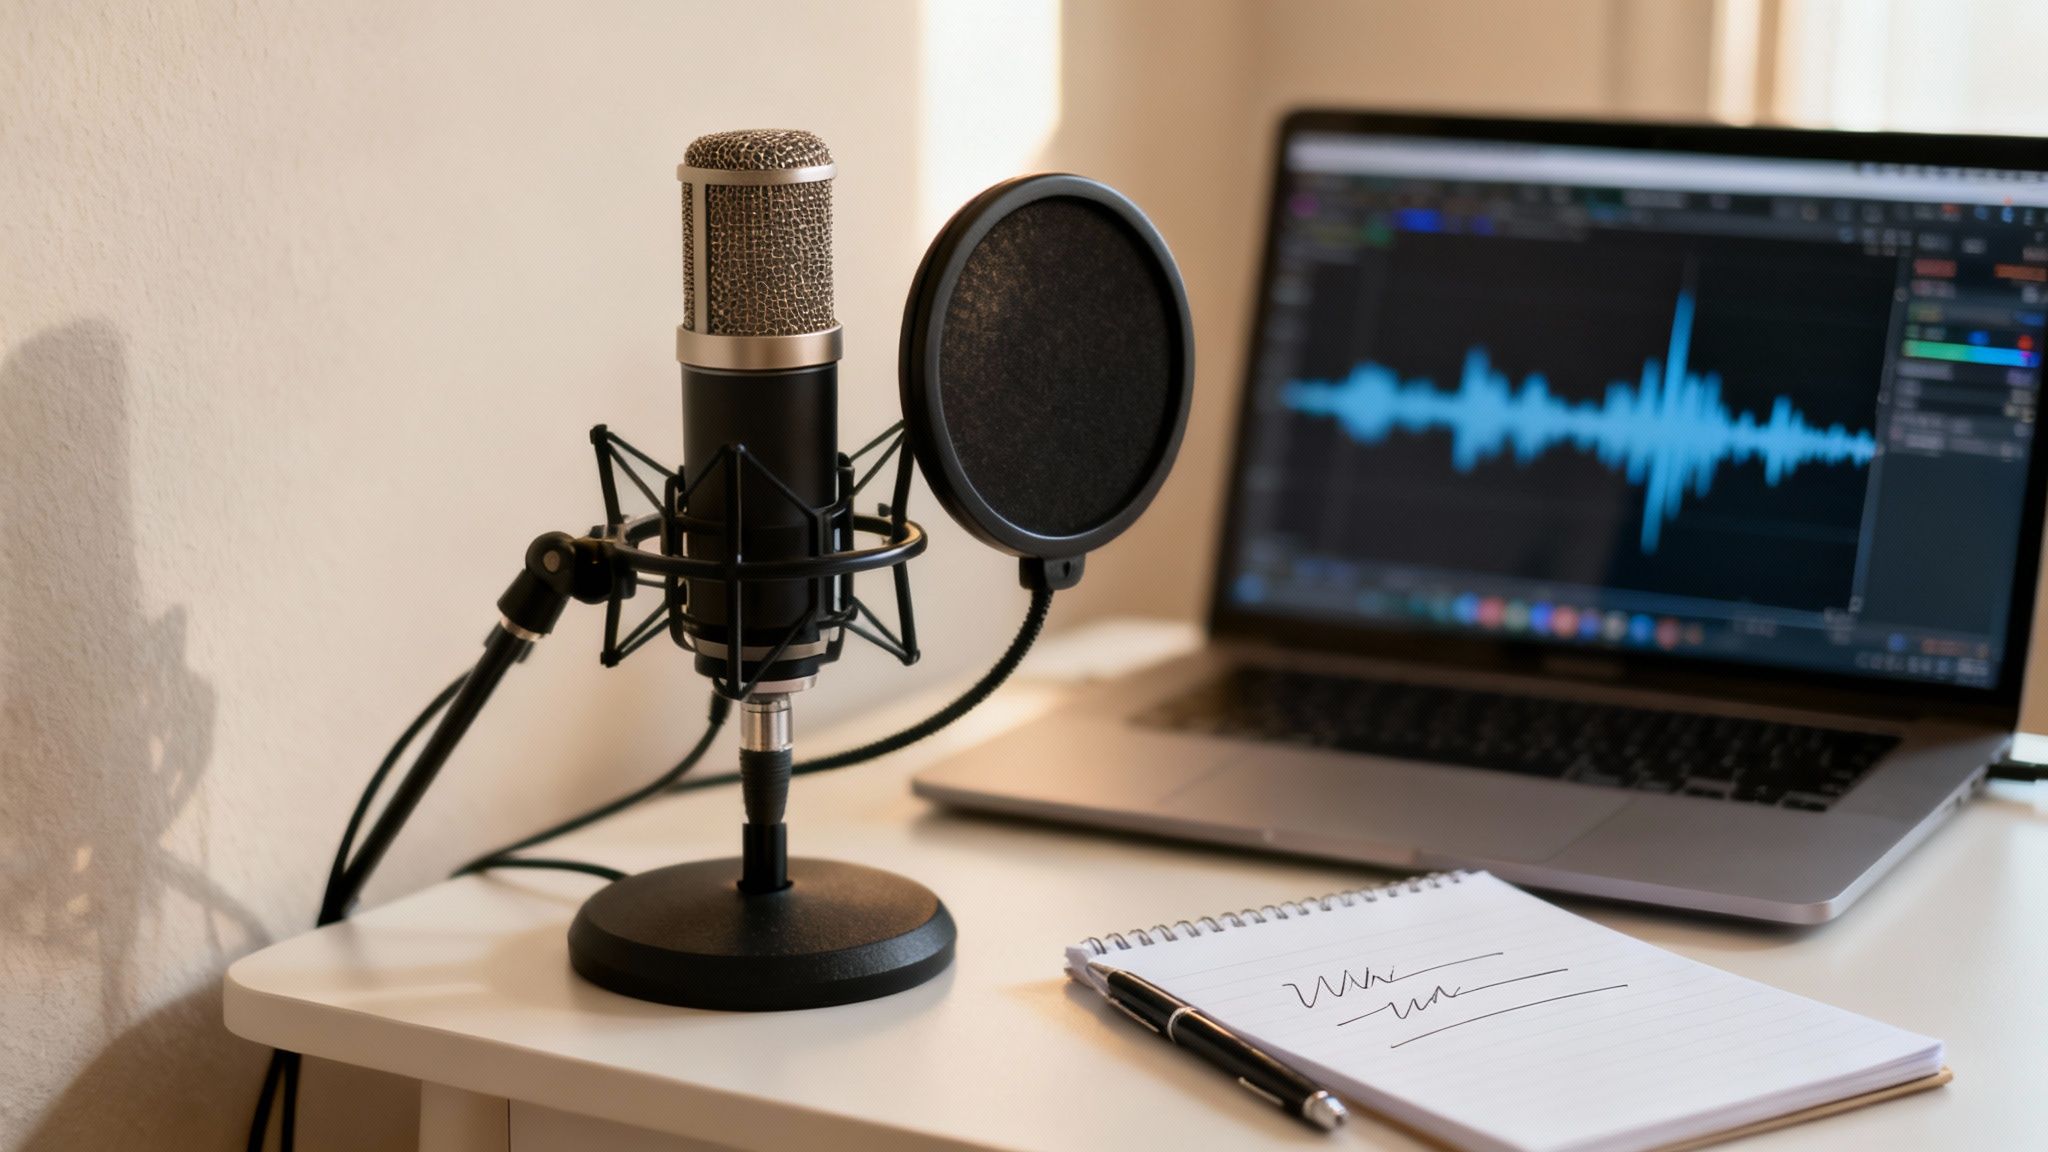
The image shows the essentials: a decent microphone with a pop filter (to stop harsh “p” sounds) and a quiet space to focus.
The actual recording process is similar across most software:
- Position the Playhead: Drag the timeline marker to where the voiceover should start.
- Arm the Track: Find the microphone icon or “Record Voiceover” button in your audio panel.
- Check Your Levels: Speak at a normal volume and watch the audio meter. Keep the level in the green or yellow range. If it hits red, your audio is distorting (“clipping”) and will sound bad.
- Record Your Take: Hit the main record button. You’ll usually get a short countdown before you start talking.
Don’t stress about nailing it in one take. It’s often much easier to record in smaller chunks, section by section.
Importing Pre-Recorded Audio Files
Another popular workflow is to record your audio separately using free software like Audacity or the voice memo app on your phone. This approach lets you focus entirely on your vocal performance without being distracted by the video.
Once you have your audio file (WAV or a high-quality MP3 is best), getting it into your project is easy.
Simply drag and drop the audio file onto a new audio track in your video timeline. From there, you can slide the clip to line it up with the visuals. It’s also a good idea to trim any dead air from the beginning and end for a tighter feel.
Using AI for Fast and Flexible Voiceovers
For many creators, AI voice generation is one of the biggest time-savers available. If you need clean, consistent audio without the hassle of setting up a microphone, text-to-speech (TTS) technology can deliver a finished voiceover in minutes. This changes the game for projects with tight deadlines or videos that need frequent updates.
AI is quickly becoming a core part of video production. Projections show that 30% of marketing messages, including video scripts, will soon be AI-assisted. While 34% of businesses have already increased their use of AI voices, others remain hesitant about whether an AI can deliver true emotional nuance.
The Standard AI Voiceover Workflow
Getting an AI voiceover is surprisingly simple. The basic steps are the same across most tools.
Here’s the typical flow:
- Drop in Your Script: Copy your written script and paste it into the AI tool’s text box.
- Pick a Voice: Audition different AI voices from a large library of styles, accents, and tones to find one that fits your brand.
- Generate the Audio: With a single click, the AI turns your text into a high-quality audio file (usually an MP3 or WAV) that you can drop straight into your video editor.
This process removes the technical hurdles of recording, making it an accessible way to add a professional-sounding voiceover to any video.
Taking AI Voiceovers to the Next Level
Beyond basic text-to-speech, AI unlocks powerful new options for your content. These advanced features are perfect for scaling up production while keeping your brand voice consistent.
A great example is voice cloning, which lets you create a digital copy of your own voice. You record a short audio sample, and the AI can then generate new voiceovers from any text you provide, all in your unique vocal style.
Voice cloning ensures every piece of content, from a social media clip to a product tutorial, sounds exactly like you—even when you didn’t have time to record it yourself.
AI is also a powerful tool for creating content for a global audience. Instead of hiring multiple voice actors, you can generate your voiceover in dozens of languages from a single script. Tools like LunaBloom AI integrate these features directly into their platform, simplifying the entire video workflow.
Writing Scripts That Work for AI Voices
To get the most natural-sounding performance from an AI, it helps to write with the technology in mind. AI voices are very literal readers, so small tweaks to your script can make a world of difference.
- Spell it out phonetically: If an AI mispronounces a word, spell it how it sounds in the script (e.g., “lah-zahn-ya” for lasagna).
- Use punctuation for pacing: Commas create small pauses, and periods create longer ones. Use them to control the rhythm of the narration.
- Keep sentences short and sweet: Avoid long, rambling sentences. Shorter, direct sentences are easier for an AI to process and result in a more natural delivery.
Mixing and Polishing Your Audio Like a Pro
Getting your voiceover onto the timeline is a huge step, but the real magic happens in the final mix. This is where you blend all your audio tracks—narration, music, sound effects—into one cohesive soundtrack that guides the viewer’s experience.
Skipping this stage is what separates amateur videos from polished, professional content. The goal is simple: clarity. Your voiceover should always be the star, sitting cleanly on top of everything else.
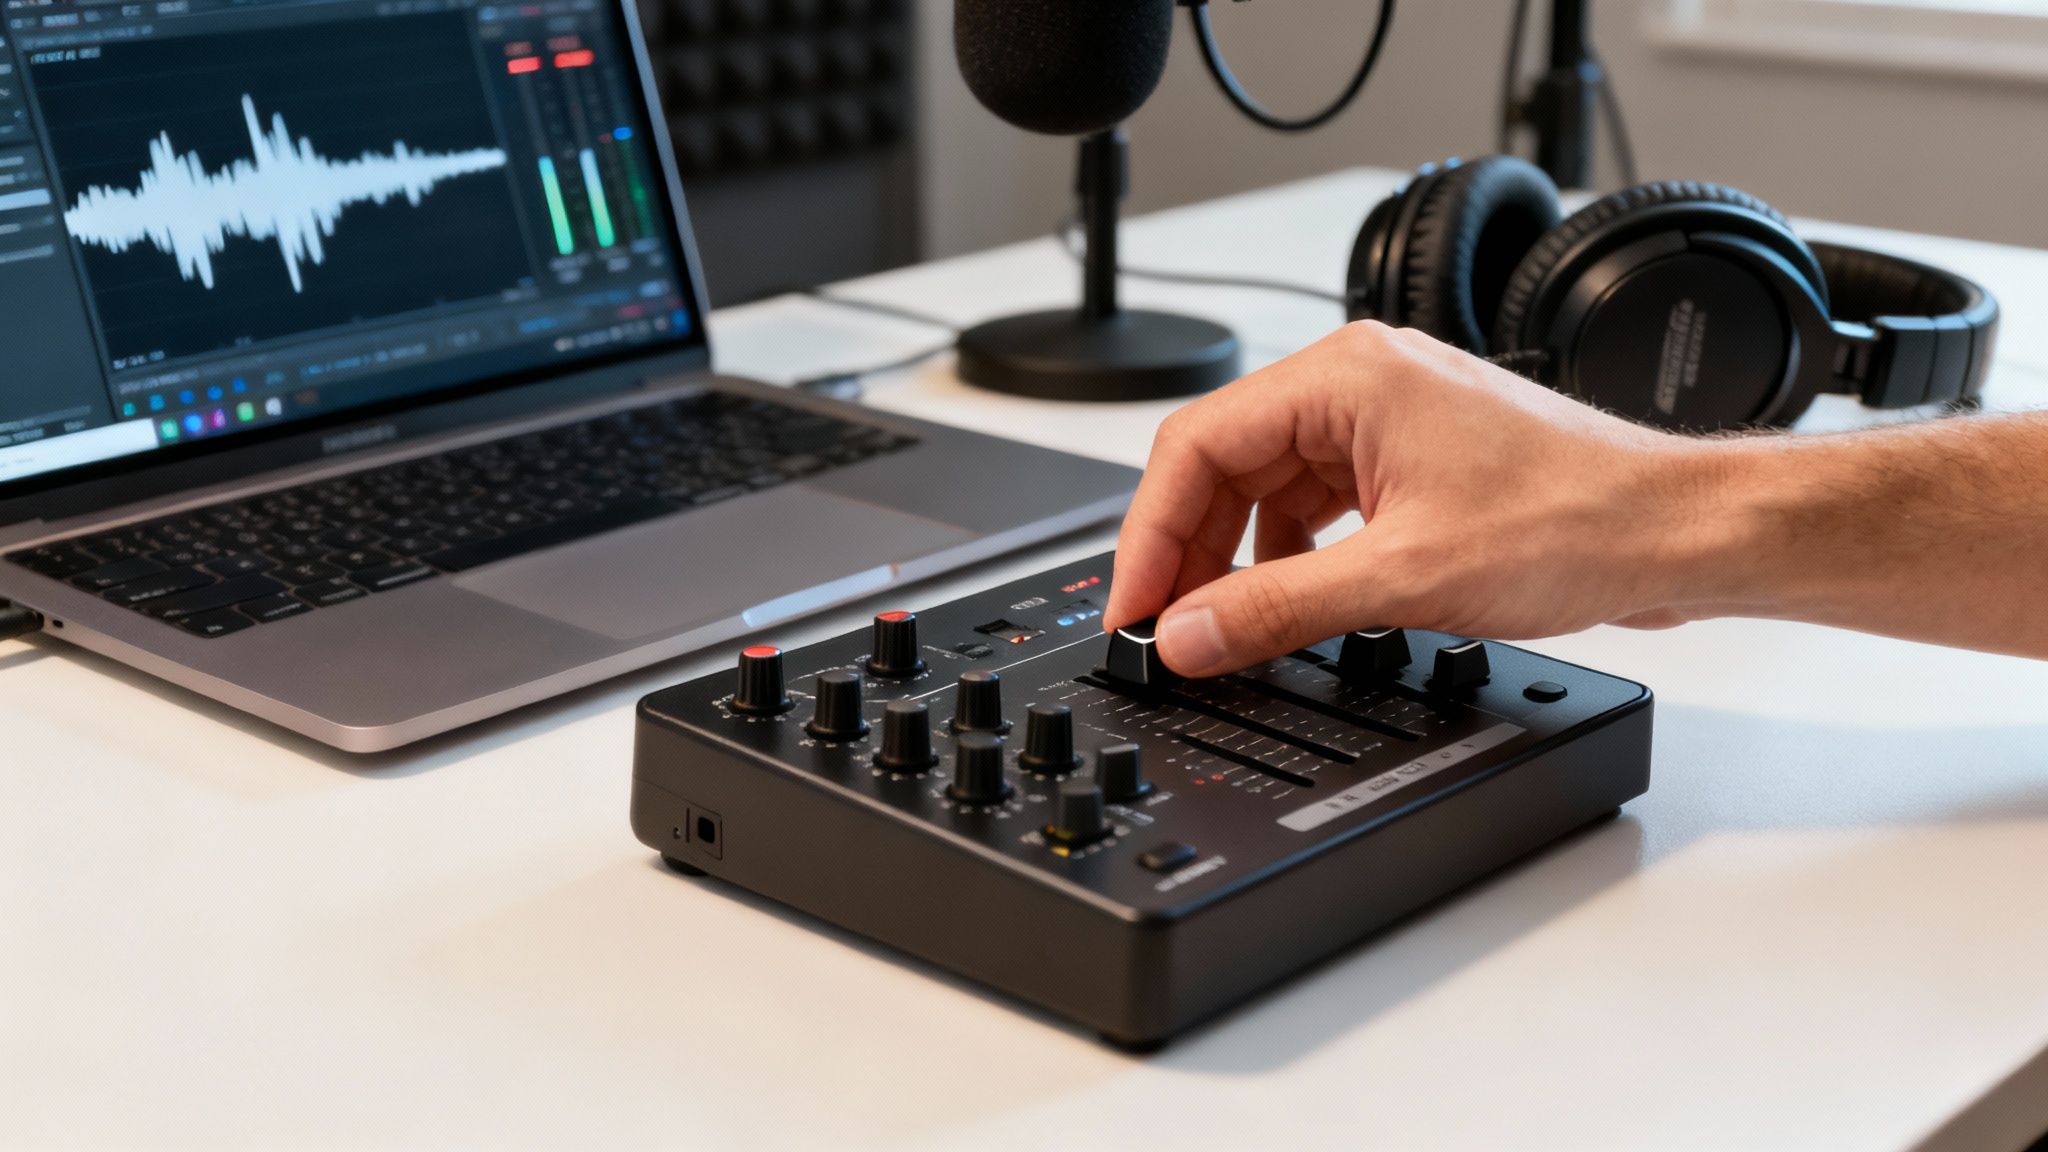
Finding the Right Audio Balance
Audio leveling is about adjusting the volume of each track so they work together. A good mix feels natural and effortless, where your voiceover, music, and sound effects coexist without drowning each other out.
Here are some go-to volume levels to start with:
- Voiceover: This is your anchor. Aim for its peaks to hit between -6 dB and -10 dB on the audio meter. This keeps it loud and clear without distortion.
- Background Music: Music sets the mood but shouldn’t steal the spotlight. A good rule of thumb is to set it about 18-20 dB lower than your voiceover, with peaks around -25 dB to -30 dB.
- Sound Effects: These are for emphasis. Their volume can vary but should be louder than the music without overpowering the voiceover.
Pro Tip: Mix with your ears, not just your eyes. Always listen to the final mix on different devices—headphones, laptop speakers, and your phone—to ensure it sounds balanced everywhere.
A great trick for this is audio ducking. It automatically lowers the music volume whenever the voiceover starts and brings it back up during pauses. Most modern editors have a simple, one-click feature for this.
Cleaning Up Your Audio
Even with a perfect recording setup, you might catch some unwanted background noise like a computer fan hum. Simple noise reduction tools can work wonders.
Look for an effect in your editor called “Noise Reduction” or “DeNoise.” Apply it to your voiceover clip and use a single slider to reduce the hiss without making your voice sound thin. A little goes a long way.
Another common problem is uneven volume. A compressor is the perfect tool for this. It smooths everything out by squashing the loudest parts and boosting the quietest ones, giving you a more consistent performance that’s easier to listen to.
Syncing Narration with On-Screen Action
The final piece of the puzzle is synchronizing your voiceover with your visuals. This is critical for tutorials or any video where you’re explaining what’s happening on screen.
Take your time sliding the audio clips along the timeline to match the on-screen cues. If you say, “Now, click the ‘submit’ button,” your voiceover should land exactly as the cursor clicks. This tight sync creates a seamless and professional viewing experience.
Conclusion: Elevate Your Videos with the Perfect Voiceover
Adding a voiceover is one of the most powerful ways to elevate your video content. Whether you choose the authenticity of your own voice, the polish of a professional, or the speed and scalability of AI, the goal remains the same: to create a clear, engaging, and memorable experience for your audience.
By following the steps outlined in this guide—from choosing your method and preparing your script to recording and mixing your audio—you have everything you need to add a professional-quality voiceover to your next video. It’s a skill that will pay dividends, helping you connect more deeply with your viewers and make your message stick.
Ready to skip the recording setup entirely? With LunaBloom AI, you can generate flawless, studio-quality voiceovers from text in minutes, available in over 50 languages. Create your first AI-powered video today!