Ever scrolled past a photo where the clouds were mysteriously drifting or a waterfall was gently flowing? That’s the magic of an AI picture animator. These powerful tools use artificial intelligence to add realistic motion to still images, transforming them into captivating, short videos.
What is an AI Picture Animator and How Does It Work?
So, how does a static photo suddenly start moving? Instead of requiring you to learn complicated animation software, the AI does all the heavy lifting. It intelligently analyzes your picture, identifies distinct elements—like the sky, water, or hair—and then applies lifelike motion only to those specific areas.
This guide will break down how tools like LunaBloom AI achieve this, cutting through the technical jargon. Our goal is to show you how this technology can revolutionize your creative projects. You’ll see why this is a game-changer for social media, digital art, and marketing, making stunning animation accessible to everyone.
Why is Animated Content So Popular?
Let’s be real: animated images just grab your attention more effectively. They stand out in a crowded feed, driving significantly more engagement than a standard photo. This growing demand for dynamic, eye-catching visuals is fueling innovation across the creative tech industry.
The numbers back this up. The AI image generator market, which includes animation tools, was valued at $418.5 million in 2024 and is projected to soar to $2,633.2 million by 2035. That’s an annual growth rate of roughly 18.2%, highlighting how essential these tools are becoming for modern creators.
Many platforms, like DreamShootAI’s AI Image Animator, are emerging to make this process incredibly simple. The best part? Powerful creative tools are no longer reserved just for professional animators.
The core technology relies on the AI’s ability to isolate different parts of a photo. It applies pre-trained motion models to specific segments—like making water ripple or clouds drift—while the rest of the image remains perfectly still.
Top Reasons to Use an AI Picture Animator
AI animators give you a clear advantage, helping you create better content faster. The benefits are undeniable for anyone looking to produce compelling visuals without getting tangled in technical complexities.
| Benefit | Impact for Creators |
|---|---|
| Effortless Animation | No need for years of training in complex software. The AI handles the animation for you. |
| Higher Engagement | Moving images consistently attract more likes, shares, and comments across social platforms. |
| Massive Time Savings | Create stunning animations in minutes, not the days or weeks required for traditional methods. |
| Budget-Friendly | Avoid the high costs of hiring professional animators or purchasing expensive software licenses. |
Ultimately, these tools democratize creativity. They empower individual creators and small businesses to produce high-quality visuals that can compete with big-budget campaigns.
What does this mean for your workflow? An AI picture animator offers several game-changing advantages:
- No Experience Needed: Seriously. You don’t need any animation skills. Tools like the LunaBloom AI animator are designed to be intuitive, letting your creativity lead the way.
- Stand Out Online: Animated posts simply perform better. Whether on Instagram, TikTok, or your website, subtle motion helps your content cut through the digital noise.
- Save Time and Money: Traditional animation is a massive drain on resources. AI automates the process, delivering polished results in a fraction of the time and cost.
Getting Started: Navigating the Animation Studio
Diving into a new creative tool can sometimes feel intimidating. The good news? An AI picture animator like LunaBloom AI is designed to take you from a static image to a finished animation in just minutes. Creating an account is the first step, and it’s so fast you’ll be ready to start in under a minute.
Once you’re logged in, you’ll land on the main dashboard. Don’t worry, it’s not a complicated control panel with a million buttons. Think of it as your creative command center, where everything is organized logically to make your workflow feel smooth and natural.
Here’s a quick peek at the clean, user-friendly dashboard you’ll be working with.
Notice how the most important functions—like uploading your media and accessing your projects—are right at your fingertips? That’s by design. The entire experience is built to get you creating without a frustrating learning curve.
Your Key Navigation Points
To get going, let’s quickly cover the three main areas you’ll use most often. Once you’re comfortable with these, you’ll be animating images like a pro.
- The Project Library: This is your personal gallery where every animation you create is automatically saved. It’s perfect for revisiting a project, making edits, or downloading it in a different format.
- The Upload Button: This is your starting point. Click it to select a static picture from your computer or phone and bring it into the animation studio.
- The Animation Settings Panel: After you upload your image, this is where the real creativity begins. This panel contains all the tools you need to add motion effects, control camera movements, and fine-tune your animation.
My top tip for beginners? Don’t try to learn every feature at once. Focus on mastering the core workflow: upload an image, experiment with a few animation settings, and see what you can create. You’ll be surprised how quickly you can produce a high-quality animation.
How to Create Your First Animated Image: A Step-by-Step Guide
Ready for the fun part? I’m going to walk you through animating your first picture with LunaBloom AI. We’ll use a practical example so you can follow along and achieve a fantastic result on your first try.
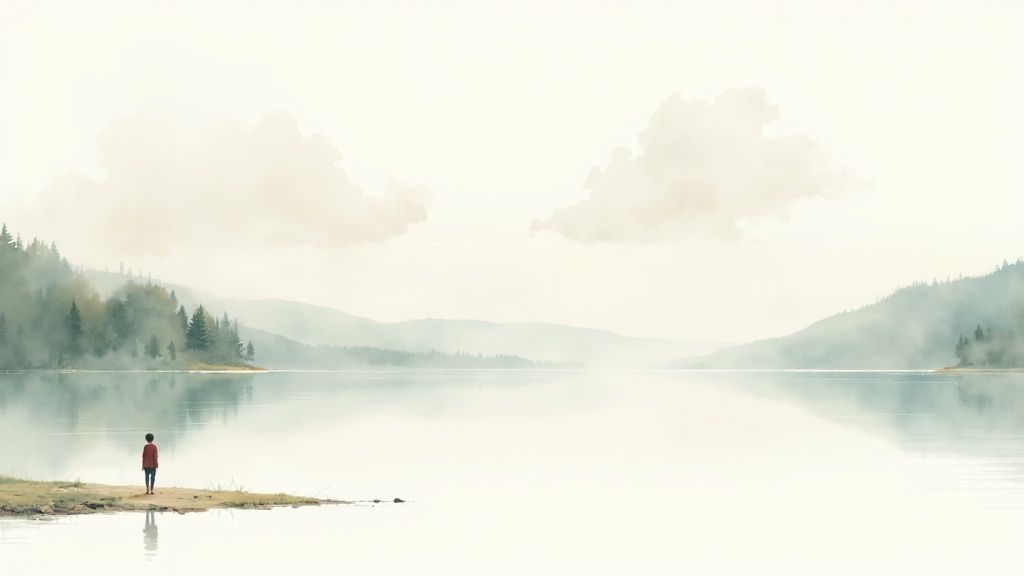
The most important step happens before you even open the tool: choosing the right photo. Not every image is an ideal candidate for animation. In my experience, photos with clear, distinct elements—like a sky, water, or a single subject against a detailed background—work best. Think of a landscape with dramatic clouds or a portrait where you can imagine the hair flowing.
Starting Your Animation Project
Once you have the perfect image, getting it into LunaBloom AI is incredibly easy. Just click the main upload button on the dashboard to enter the animation studio. This is where you can start applying simple, foundational motion effects.
For our example, let’s use a landscape photo with both clouds and a body of water. Our goal is to make the clouds drift lazily across the sky and add a gentle ripple to the water, while keeping the mountains and trees in the foreground completely still.
A key to a believable animation is subtlety. I’ve learned that over-the-top motion can look artificial quickly. Start with slow, gentle effects and build from there. You can always increase the intensity later if needed.
The demand for AI-generated animation is exploding. The market was valued at around $2 billion in 2025 and is expected to grow at a compound annual rate of 25% through 2033. This growth is driven by the need for effective, low-cost visual content.
The process is designed to be intuitive. This infographic breaks down the core workflow, from setting up your account to exporting your final animation.
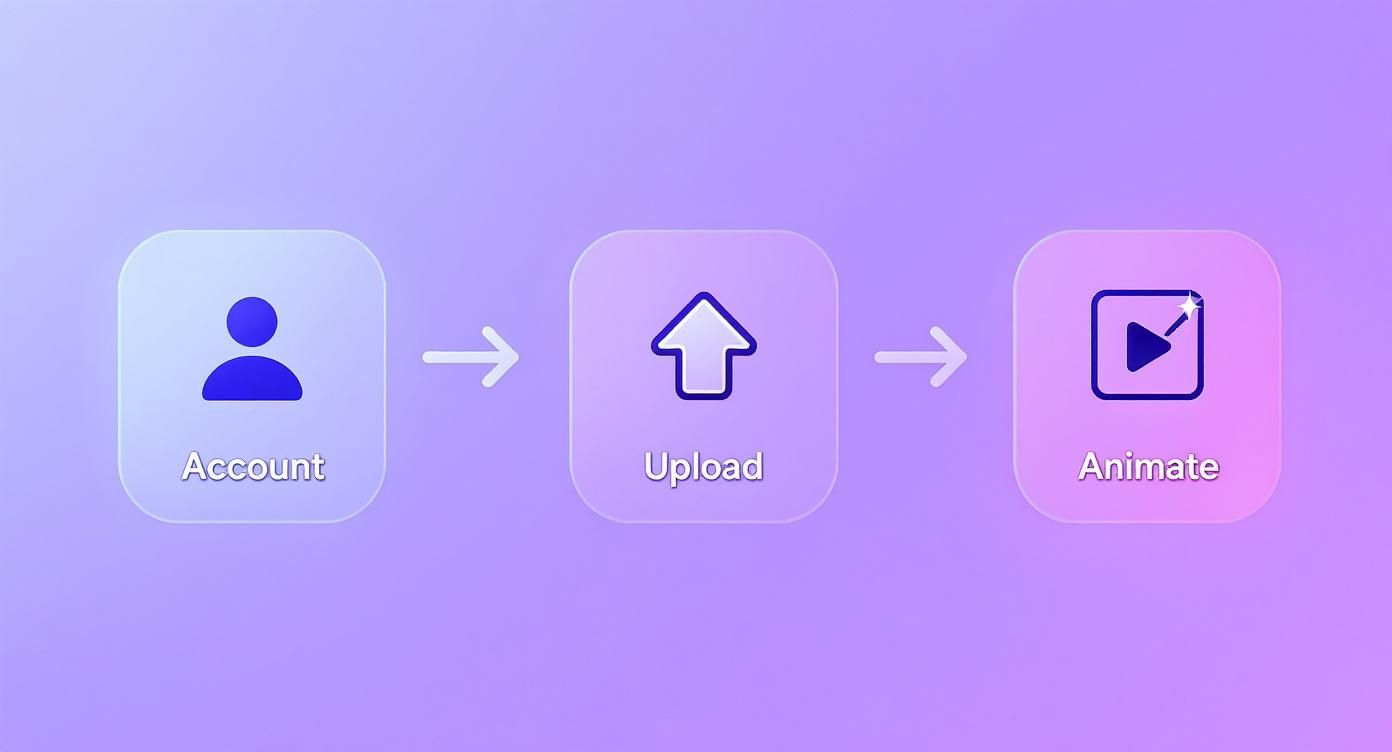
As you can see, it boils down to three key stages: account setup, image upload, and the animation process. You’ll follow these same steps for any project in an ai picture animator.
Applying Foundational Motion
Inside the LunaBloom AI editor, you’ll find a variety of preset motion styles. For our landscape, we’ll start by selecting the “Sky” effect. The AI is smart enough to detect the clouds and automatically generate a soft, drifting motion. Next, we’ll apply a “Water” effect to add a realistic ripple to the lake.
One of the best features is the real-time preview. This immediate feedback is incredibly helpful because you can see exactly how each adjustment affects the final animation without having to wait for it to render.
If you want to get better at guiding the AI, understanding AI art generation processes like image to prompt can be a huge help. It teaches you how to “speak the AI’s language” to get precisely the result you envision. By following this simple, hands-on approach, you’ll master your first animation and be ready for more complex projects.
Unlocking Advanced Animation Techniques
Ready to move beyond the basics? This is where an ai picture animator like LunaBloom AI truly shines, giving you the fine-tuned control needed to bring your creative vision to life. The advanced features allow you to direct the animation with incredible precision, turning a simple moving photo into something truly cinematic.
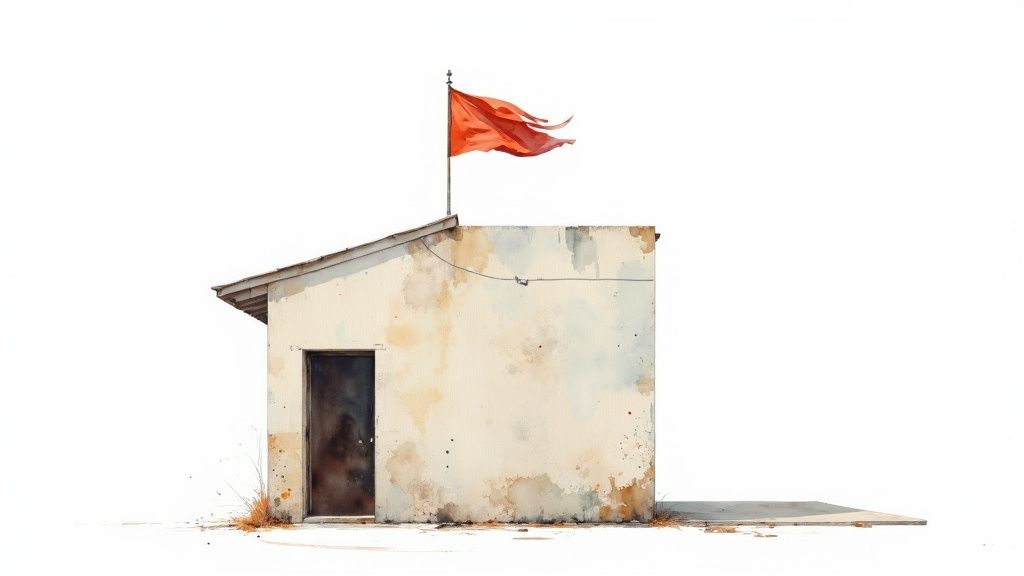
One of the most powerful tools at your disposal is motion masking. Think of it as a digital stencil. You can “paint” over areas of the image to tell the AI exactly which parts to animate and which parts to keep perfectly still.
For example, you could make a flag ripple in the wind while ensuring the building it’s attached to remains completely static. Mastering this technique is the key to creating professional-looking animations.
Adding Cinematic Flair with Camera Effects
Isolating movement is one thing, but guiding the viewer’s eye is what creates a story. This is where dynamic camera effects come in. These tools mimic real-world cinematography, adding a layer of narrative and polish to your animated image.
- Pans: Gently sweep the “camera” across your image to reveal the full scale of a sprawling landscape.
- Zooms: Slowly push in on a key subject to build focus and drama, or pull back to reveal the bigger picture.
- Rotations: Add a subtle spin for a dose of creative energy or a feeling of disorientation, perfect for abstract or artistic pieces.
By layering these effects, you can build surprisingly complex and eye-catching scenes. Imagine zooming in on a person’s face while the background subtly pans behind them—that’s the kind of detail that makes your work stand out. These capabilities are becoming increasingly important; generative AI is expected to boost creative productivity for animators by about 20%. The Generative AI in Animation market is projected to hit $28.1 billion by 2033. You can read more about the future of generative AI in animation to see just how impactful this technology is becoming.
Here’s a look at the interface in LunaBloom AI where you can apply these advanced motion and camera controls.
As you can see, the layout makes it simple to experiment with motion masking, camera pans, and zooms until you achieve the perfect effect.
Here’s a pro tip: combine masking with a subtle camera movement. For instance, animate only the steam rising from a coffee cup and pair it with a super-slow zoom-in. This combination creates a focused, intentional effect that feels incredibly polished and separates a simple moving photo from a captivating visual story.
Exporting and Sharing Your Creations
You’ve brought your image to life and fine-tuned every last detail. Now it’s time to share your animation with the world. A good ai picture animator makes this part easy, but choosing the right export settings is crucial to ensure your work looks just as stunning on other screens as it does on yours.
The first decision you’ll need to make is the file format. This choice isn’t just a technical detail—it determines where and how people can view your animation.
MP4 vs. GIF: Which One Should You Choose?
Think of MP4 as your go-to format for high-quality video. It’s the standard for platforms like Instagram, TikTok, and YouTube for good reason: it supports audio, delivers vibrant colors, and keeps file sizes manageable. If your animation has a cinematic feel or needs to look crisp and clear, MP4 is the best choice.
On the other hand, GIFs are the undisputed champions of short, silent, looping animations. They’re perfect for emails, websites, and messaging apps. While they have a more limited color palette and can result in large files if they’re too long, their universal compatibility makes them a reliable option for simple, eye-catching motion.
The rule of thumb I follow is simple: If it needs sound or high-definition quality for social media, I export as an MP4. If it’s a silent, endlessly looping visual for a webpage or a message, a GIF is the way to go.
Optimizing for Every Platform
Next up are resolution and frame rate. A one-size-fits-all approach doesn’t work here, as every platform has its own ideal specifications.
- For TikTok and Instagram Reels: You’ll want a vertical resolution of 1080×1920 pixels. A frame rate of 30 frames per second (fps) provides smooth playback on mobile without creating an unnecessarily large file.
- For a Professional Portfolio: This is your chance to shine. Export at the highest quality possible, such as 4K resolution (3840×2160 pixels), to showcase the fine details in your work.
Finally, always check the final file size. A massive file is a slow-loading file, and that’s a quick way to lose your audience’s attention. While LunaBloom AI does a great job of optimizing exports, it’s a good habit to aim for that perfect balance between stunning quality and a file that loads instantly.
Common Questions About AI Picture Animators
When you first dive into an ai picture animator, a few questions are bound to come up. Getting these answered early helps you troubleshoot problems and make the most of the tool’s capabilities. Let’s cover some of the most frequent questions we hear.
What Kind of Pictures Work Best for AI Animation?
From my experience, images with clear, distinct elements consistently produce the best results. Think of a landscape photo with a well-defined sky and a separate body of water, or a portrait where the subject’s hair and clothing stand out from the background.
When these components are easy for the AI to identify, it has a much simpler time understanding what should move and what should stay still. On the other hand, photos that are too “busy” or have poor, low-contrast lighting can be challenging. If the AI can’t easily distinguish the foreground from the background, the resulting animation may not look as clean.
Can I Animate Just One Part of My Picture?
Absolutely, and this is where the real creative power lies. This feature is what separates a basic tool from a professional one. Most high-quality AI picture animators, including LunaBloom AI, offer a “masking” or “pinning” function.
This is a game-changer. It allows you to “paint” over the parts of the image you want to keep completely static.
For example, you can pin down the entire background of a portrait to make only the person’s hair blow in the wind. This gives you incredibly precise, cinematic control over the final look and feel of your animation.
Will Animating a Picture Reduce Its Quality?
This is a major concern for many creators, but the short answer is no—as long as you use the right export settings. The quality of your final animation is determined not by the animation process itself, but by how you choose to save the file.
To keep everything looking as sharp as your original photo, always export at a high resolution.
- For social media, 1080p offers a great balance of quality and manageable file size.
- For a professional portfolio or website, exporting in 4K ensures every detail remains crystal clear.
Don’t forget the file format. An MP4 is typically the best choice for video platforms. Getting these settings right ensures your animated video retains all the clarity and visual impact of the original photograph.
Ready to turn your static photos into animations that stop the scroll? Give LunaBloom AI a try today and see just how easy it is to bring your ideas to life. Start creating now at https://lunabloomai.com.