Yes, you can absolutely turn a PowerPoint into a video directly from the application. The built-in export feature packages your entire presentation—animations, timings, and narrations—into a standard MP4 file. Just like that, your presentation is ready for YouTube, LinkedIn, or your company's training portal.
Why Turn Your PowerPoint Into a Video?
Before diving into the "how," let's cover the "why." Why is this skill so valuable? In a world dominated by video content, a static slide deck often struggles to capture and hold attention. Converting your presentation into a dynamic video isn't just a neat trick; it's a smart strategy for anyone in marketing, training, or communications.
Think about the user experience. A .pptx file requires your audience to download it, open it, and click through the slides themselves. They are left to interpret the narrative on their own. A video, on the other hand, guides the viewer through your story with a clear voiceover and polished timing. It provides a seamless, lean-back experience that modern audiences expect and prefer.
Expand Your Reach and Supercharge Engagement
One of the biggest advantages of converting your PowerPoint is accessibility. A video file can be uploaded, embedded, and shared almost anywhere online.
- Dominate on Social Media: Platforms like LinkedIn and YouTube are designed for video. You can't upload a slide deck, but a video version can generate views, likes, and shares, pushing your content far beyond its original audience.
- Create On-Demand Training: For corporate training or online courses, a video is a game-changer. Employees or students can watch the material on their own schedule and re-watch key sections without needing a live presenter.
- Arm Your Sales and Marketing Teams: Imagine a salesperson sending a pitch. Instead of a clunky attachment that might be ignored, they can share a link to a concise, compelling video that explains the value proposition in minutes. It's a proven method for grabbing attention.
Here's a real-world example: A B2B company's sales team converted their standard 20-slide pitch deck into a two-minute animated video. They used it in their email outreach and pinned it on LinkedIn. The result? A 40% increase in click-through rates and a significant spike in inbound leads from social media.
This isn't just a niche tactic anymore; it's a mainstream strategy backed by data. The demand for video content has exploded. Today, around 91% of businesses use video as a primary marketing tool. Furthermore, data reveals that 84% of people have been convinced to buy a product after watching a brand’s video. That alone is a powerful reason to transform your static slide decks. You can explore more compelling video marketing statistics.
Using PowerPoint's Built-In Video Export
The most straightforward way to turn a PowerPoint to video is by using the tool you already have. PowerPoint's native export feature is surprisingly robust, allowing you to create a shareable video file without any extra software. It's the perfect method for a quick, clean conversion.
However, getting a polished result depends on the details. To ensure your animations, slide timings, and overall quality look professional, you need to understand a few key settings. Let's walk through the steps for Windows, macOS, and the web version.
This diagram illustrates how this simple conversion process transforms your content from a passive deck into an active format that grabs and holds viewer attention.

Think of it as building a bridge for your ideas, moving them from a static slide to a dynamic video that can travel much farther.
Exporting Your Presentation on Windows
For Windows users, the path to creating a video is located in the "Export" menu. Once your presentation is finalized, navigate to File > Export and select Create a Video. This opens a panel where you’ll make a couple of critical choices.
You'll see options for video quality and timings—don't just click past them. They directly control the look and feel of your final video.
The single most important setting here is "Use Recorded Timings and Narrations." If you've spent time rehearsing your slide timings or recording a voiceover, this option is essential. It ensures your video plays back exactly as you intended, with animations and audio perfectly synchronized.
If you skip this, PowerPoint will default to a fixed time per slide, which can make your video feel awkward and unnatural.
Exporting Your Presentation on macOS
The process is very similar for Mac users, though the menu labels differ slightly. Start by going to File > Export. In the dialog box that appears, you’ll need to change the File Format dropdown menu to either MP4 or MOV.
Just like on Windows, you'll then get several options to control the final output. You can adjust the presentation quality and, most importantly, tell PowerPoint how to handle your timings.
- Video Quality: Choose a resolution that fits where the video will be viewed. Full HD (1080p) is the ideal choice for most uses, offering excellent clarity without creating an overly large file.
- Timings: Again, look for the checkbox that says
Use Recorded Timings and Narrations. This is the key to preserving the natural flow of your presentation. - Default Slide Duration: If you haven’t set any specific timings, you can assign a default number of seconds for each slide to remain on screen.
Once your settings are configured, click "Export," and PowerPoint will begin the conversion process.
Understanding Your Export Settings
When you turn your PowerPoint to video, the export settings may seem technical, but getting them right is what separates an amateur video from a professional one. Choosing the correct resolution is a perfect example.
Let's break down the common options:
| Resolution Setting | Best For | Key Consideration |
|---|---|---|
| Ultra HD (4K) | Large screens, conference rooms, professional showcases. | Creates very large files; overkill for most online sharing. |
| Full HD (1080p) | YouTube, social media, general viewing on laptops or TVs. | The ideal balance of quality and manageable file size. This is our recommended default. |
| HD (720p) | Quick shares on social media or viewing on tablets. | Good quality with a smaller file size, making it faster to upload. |
| Standard (480p) | Mobile devices or when file size is the top priority. | Quality is noticeably lower; use only when absolutely necessary. |
For most marketing, training, or internal communications, exporting in Full HD (1080p) will produce a crisp, clear video that looks fantastic on nearly any screen. It ensures your content appears polished without creating a file that’s difficult to upload or share. This simple choice makes a huge difference in the perceived quality of your final video.
Enhancing Your Video for Professional Polish
Simply exporting your PowerPoint will give you a video, but taking a few extra minutes to add polish is what transforms a basic slide reel into a professional asset that holds attention.
Think about it: a silent video of slides is just a faster, less-controllable version of the original presentation. The real magic happens when you add a human element—your voice, guiding the viewer, adding context, and creating a genuine connection.
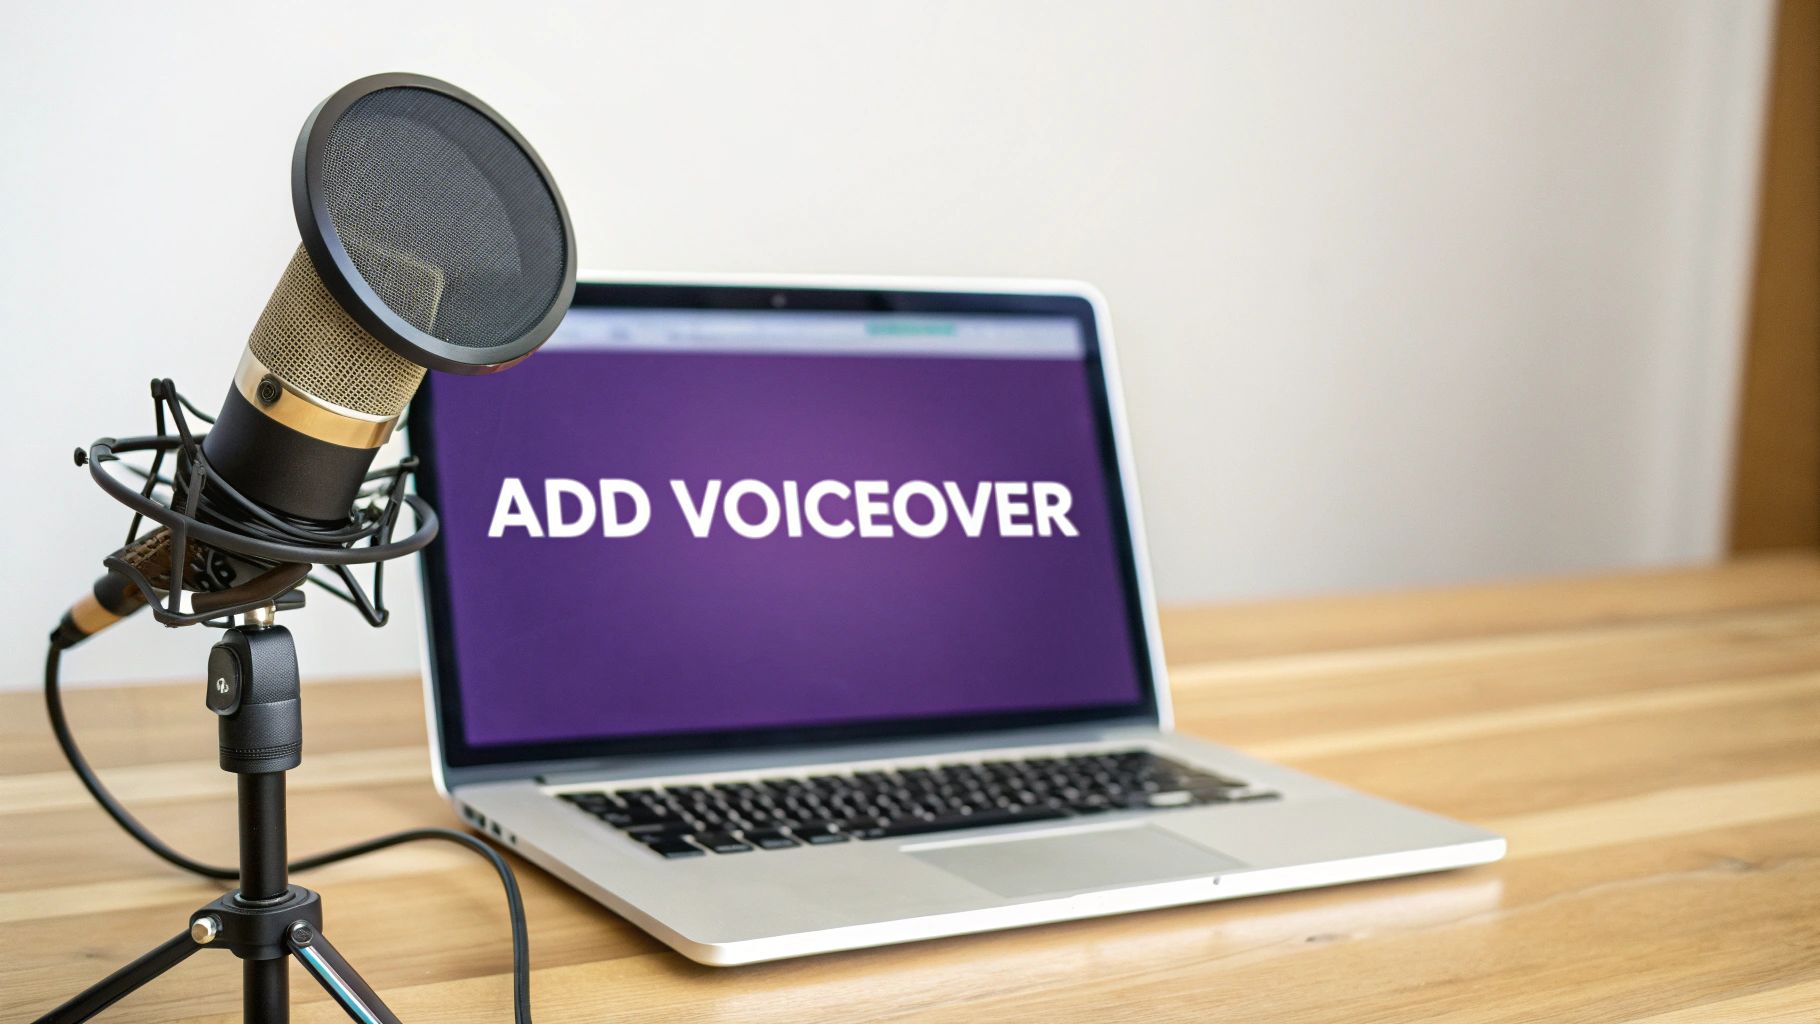
Adding a Clear and Compelling Voiceover
PowerPoint’s built-in recording feature is surprisingly capable. You can find it under the Slide Show > Record Slide Show menu. As you click through your slides and speak, PowerPoint automatically syncs your narration with your timings and animations.
However, audio quality can make or break a voiceover. Poor audio is distracting and makes your content feel amateurish, while good audio establishes authority. You don't need a professional recording booth, but a few simple adjustments go a long way.
- Ditch the Laptop Mic: Your computer’s built-in microphone is designed for calls, not quality recording. A simple USB microphone or even the mic on your phone's earbuds will offer a massive improvement.
- Find a Quiet, Soft Room: Hard surfaces create echo. Recording in a room with carpet, curtains, or a closet full of clothes will absorb sound and give your voice a much cleaner, richer quality.
- Talk, Don’t Read: Avoid reading your slide text verbatim. Speak to your audience as if you're in the room with them. Let your personality shine through by varying your tone and pausing for effect.
The Critical Role of Captions and Subtitles
Once your audio sounds great, the next step is making your video accessible to everyone by adding captions. This is no longer optional; it's an essential part of modern video strategy.
Many people scroll through social media with the sound off. Without captions, your message is completely lost. Captions also make your content accessible to viewers who are deaf or hard of hearing.
The data confirms this. In a recent survey, a staggering 93% of marketers reported that video provides a positive ROI. In a separate analysis, captioned videos saw a 254% jump in adoption in a single year. Why? Because they boost watch time and make content accessible to a global audience.
When you turn a PowerPoint to video, the goal is to maximize its reach. Learning how to create subtitles for videos is a non-negotiable skill for achieving that professional polish and ensuring your message lands, no matter how someone is watching.
A great voiceover gives your video personality, and captions ensure that personality can be understood by anyone, anywhere. Together, they transform a simple presentation into a powerful communication tool.
The Modern Workflow with AI Video Creation
While PowerPoint’s built-in export feature is a good starting point, it has limitations. The process can feel clunky and manual. Recording a quality voiceover takes time, and creating perfectly synced captions is another challenge entirely.
This is where a modern, AI-powered workflow completely changes the game.
AI video creation platforms offer a faster, smarter way to turn a PowerPoint into a video, bypassing the frustrations of native tools. Forget robotic-sounding text-to-speech or spending hours recording your own voice. These tools are packed with features designed for a professional finish, even if you have no video editing experience.
The core idea is simple: let an intelligent system handle the heavy lifting.
How an AI-Powered Workflow Functions
Imagine a process where you provide the script from your slides, and an AI handles almost everything else. This isn't science fiction; it's the practical workflow that marketers and educators are now adopting.
Here's how it typically works:
- Upload Your Script: Start by pasting the text from your PowerPoint presentation.
- Choose a Presenter: Select a lifelike AI avatar to be the face of your video. This adds a human touch without needing a camera, studio, or live actor.
- Generate a Voiceover: Choose a natural-sounding AI voice from a vast library of languages and accents, ensuring your message connects with a global audience.
- Automate Creation: The AI then combines your script, avatar, and voiceover, automatically generating perfectly timed captions for better accessibility and engagement.
This approach eliminates the need for microphones, cameras, or complex editing software. It consolidates the entire video creation process into one streamlined platform. For teams that need to produce multilingual training or marketing content at scale, this represents a massive leap in efficiency.
This screenshot from https://lunabloomai.com/ shows just how intuitive the interface can be.
The goal is to keep things simple so you can focus on your message, not the technical details of video production.
The Speed and Scale of AI Conversion
This AI-assisted approach has radically changed how quickly slide content can be repurposed. What once took hours—or even days—can now be completed in minutes. It's not uncommon to convert a 20-slide PowerPoint into a polished video in roughly 15–20 minutes.
The trend is accelerating. By 2024, approximately 63% of video marketers reported using AI tools, a significant increase from just 51% the previous year. This is a fundamental shift, not a passing fad.
The true advantage of using AI to turn a PowerPoint into a video is its ability to eliminate friction. It automates the most time-consuming tasks—narration, captioning, and syncing—freeing you to produce more high-quality content, faster.
Platforms like LunaBloom AI are built on this principle, offering a powerful yet user-friendly solution to generate videos directly from text. To get a better sense of what's available, you can explore some of the top AI video generator tools. This modern workflow is not just an alternative; for many, it's becoming the new standard.
Troubleshooting Common Conversion Problems
Even when you follow all the steps to turn PowerPoint to video, things can go wrong. It happens. Fortunately, most export issues are common and have simple fixes. Think of this section as your guide to resolving those frustrating glitches.

One of the most frequent problems is broken animations. A complex, multi-step animation might look great in presenter mode but appear jittery or broken in the final MP4. This is often because the video encoder struggles to process too many effects at once.
The easiest fix? Simplify. Instead of packing one slide with ten layered animations, try breaking it into two or three slides with fewer moving parts.
Fixing Audio and Video Quality
Another common issue is audio drifting out of sync with your slides, which is particularly noticeable in longer presentations. If your voiceover starts to lag, it’s likely a processing issue. The first step is to try the export again, but this time, close all other programs on your computer to give PowerPoint maximum resources.
You might also encounter blurry video or excessively large file sizes. These two problems are often related.
- Blurry or Pixelated Video: This indicates you exported at too low a resolution. Return to the export settings and ensure you’ve selected Full HD (1080p). This provides a sharp, professional look suitable for most platforms.
- Massive File Sizes: If your video file is too big to email or upload, the culprit is usually uncompressed media. Before exporting, go to
File > Compress Mediain PowerPoint. This will shrink the images and videos within your presentation without a significant drop in quality.
I can’t stress this enough: a quick pre-export check of your media saves tremendous time and frustration. Compressing high-resolution images or trimming embedded video clips before you export can solve both quality issues and bloated file sizes in one go.
By knowing what to look for, you can diagnose and fix these problems quickly, ensuring your final video looks as polished as you envisioned.
Frequently Asked Questions
Have questions about turning your PowerPoint slides into a video? You're not alone. Here are direct answers to the most common queries to help you get unstuck and back to creating.
Can I turn a PowerPoint into a video and keep all my animations?
Yes, absolutely. PowerPoint's video export feature is designed to capture all your animations and transitions exactly as they appear in presentation mode.
The key is to select the 'Use Recorded Timings and Narrations' option during export. This instructs PowerPoint to follow the timing you've set. For best results, use the 'Rehearse Timings' feature first to set the perfect pace for every click and slide change. A quick heads-up: extremely complex, layered animations can sometimes cause glitches, so always preview the final video.
What is the best format to save a PowerPoint as a video?
The best and most recommended format is MP4. When you export, you may see other options like WMV, but you should almost always choose MP4.
MP4 offers the perfect balance: great video quality without a massive file size. More importantly, it is universally compatible. It will play on virtually any device or platform, from YouTube and LinkedIn to every modern smartphone. Choosing MP4 ensures your video will work for everyone, everywhere.
How do I add my voice to a PowerPoint video?
You can record a voiceover directly inside PowerPoint before you export. Simply navigate to the 'Slide Show' tab and click the 'Record Slide Show' button.
This powerful feature lets you record audio for each slide as you click through your presentation. PowerPoint automatically syncs your voice with the on-screen content and animations. Once you're finished, save the narration. Then, when you export your video, make sure the 'Use Recorded Timings and Narrations' box is checked. Your voice will be perfectly integrated into the final video file.
Tired of the manual clicks and exports? LunaBloom AI takes your script and generates a professional video in minutes, complete with lifelike AI avatars, natural-sounding voiceovers, and automatic captions. Give LunaBloom AI a try for free and see how fast you can create.