Learn how to create subtitles for videos quickly and accurately, using free editors, advanced software, and AI platforms. Follow these steps to master transcribing dialogue, syncing timecodes, and styling captions.
In this guide, you’ll learn:
- How to transcribe and timecode manually.
- Tips for software-driven subtitling.
- Steps for AI-powered automatic captions.
Quick Tips For Creating Subtitles

At its core, creating subtitles for videos means transcribing dialogue, syncing text with timecodes, and styling captions for readability. Most creators start with manual editing because it’s straightforward and precise.
Grab free editors like Aegisub or Subtitle Edit to type your lines and nail the timecodes by ear.
- Use hotkeys to pause, resume, and mark timestamps without touching the mouse.
- Copy and paste repeated phrases with search-and-replace to avoid typos.
- Save style presets—like speaker labels, italics, or color codes—for consistent formatting.
Choose The Right Tool
Budget and clip length usually decide which path you’ll take.
- Short social snippets? Mobile apps with caption stickers do the trick.
- In-depth tutorials? Desktop editors that export multi-language SRTs are your friend.
"Syncing in real time cuts revision by 50% when dialogue is clear."
If you’d rather skip manual timecoding, AI tools can auto-generate transcripts with tight timecodes. LunaBloom AI lets you upload raw clips and pull back editable SRTs in minutes.
- Bulk-upload dozens of files and let the engine run overnight.
- Tag speakers in your script so you can customize voice labels later.
Subtitle Creation Methods Comparison
Here’s a quick glance at how manual, software, and AI approaches stack up. Use this breakdown to decide which path fits your project and timeline.
| Method | Time Required | Accuracy | Cost |
|---|---|---|---|
| Manual | 5–15 min per minute | High (manual) | Free |
| Software | 2–5 min per minute | Medium | $0–$50 |
| AI | <1 min per minute | Variable | $5–20 |
Quick Sync Checks
Before you hit Export, play your video in the editor itself.
- Scan for overlapping captions that turn into a cluttered mess.
- Keep each subtitle on-screen at least 1.5 seconds so viewers can read comfortably.
Even a tiny audio/text mismatch can damage your audience’s trust. Lock the final SRT file to prevent accidental shifts during export.
Budget Friendly Hacks
You don’t always need pro software months in advance. Free trials in premium editors often unlock advanced features for a limited time.
- Use YouTube Studio to draft simple captions and tweak them on the fly.
- Fire up VLC and burn subtitles into your video via the subtitle track menu.
When To Use Each Method
Match tool speed to your deadline:
- Manual: Ideal when you’ve got the luxury of time and need perfect accuracy.
- Software: A solid compromise between speed and precision.
- AI: Perfect for bulk jobs or when you’re racing the clock.
Avoid Common Slipups
Double-check any technical jargon—one misspelled term can make you look unprofessional.
- Watch for missing punctuation at sentence ends.
- Confirm speaker labels, especially in overlapping dialogue.
Happy captioning—and may your timecodes always stay in sync!
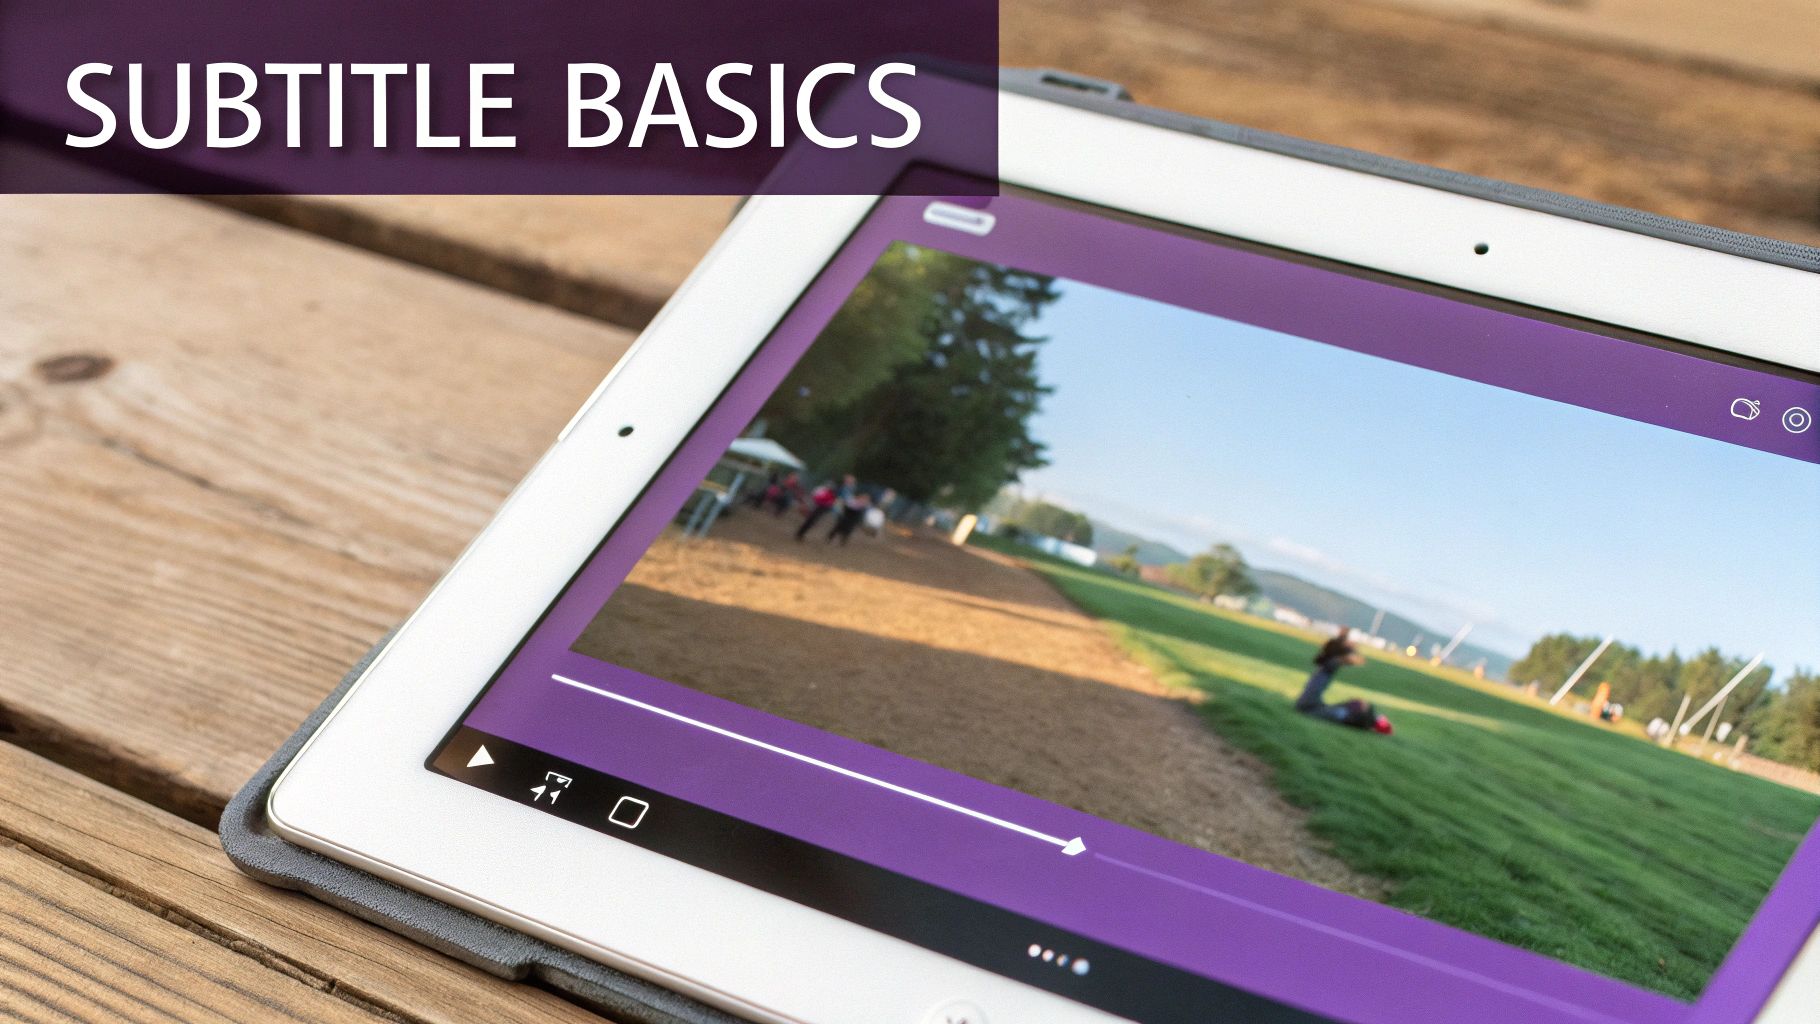
Understanding Subtitle Basics
Your subtitles should feel like an invisible guide—not a distraction. Getting pacing and readability right keeps viewers tuned in.
Aim for:
- 15–20 characters per line to avoid crammed text
- A display time of 1–7 seconds so viewers can read comfortably
- Thoughtful white space and line breaks that let the eyes rest
Fast-paced gaming streams? Lean into shorter lines and snappy transitions. In-depth tutorials? Give captions a bit more linger to match each step. And don’t forget: meeting legal and accessibility standards makes your videos inclusive by design.
Font Choices And Accessibility
Legible fonts prevent squinting—especially on smaller screens. A clean sans-serif like Arial or Helvetica reads clearly at tight sizes.
For hearing-impaired audiences, add speaker labels and nonverbal cues (e.g., [laughter], [door slams]).
The screenshot below illustrates how subtitles appear in various formats on Wikipedia.
This view highlights the distinction between open and closed subtitles and common styling options.
Take note: the captioning and subtitling market hit $263.829 million in 2021 and is projected to reach $356.1 million by 2025, growing at a 7.786% CAGR. Read the full report on Cognitivemarketresearch
Multi Language Strategies
Juggling several languages on one timeline takes finesse. You can:
- Stack subtitles or employ color-coding to show who’s speaking
- Keep phrases brief and timing consistent to ease the brain’s load
- Run translation checks and have native speakers review for natural flow
Subtitles that honor cultural tone and phrasing build a stronger connection across borders.
Timing And Fatigue
If your captions hang around too long, viewers drift away. Remember, the average adult reads about 200–250 words per minute (roughly 3.5 words per second).
In practice, you’ll want to:
- Count the words in each subtitle line
- Divide that by 3.5 words per second to gauge ideal display time
- Add a half-second buffer for scene cuts or background noise
On fast-moving cooking streams, captions that disappear too quickly leave hungry viewers scrambling. Tweak these guidelines to match your audience’s reading habits and your video’s tempo.
Keep lines short and timed right to avoid reader fatigue and maintain immersion.
Mastering these fundamentals lays the foundation for a seamless viewing experience.
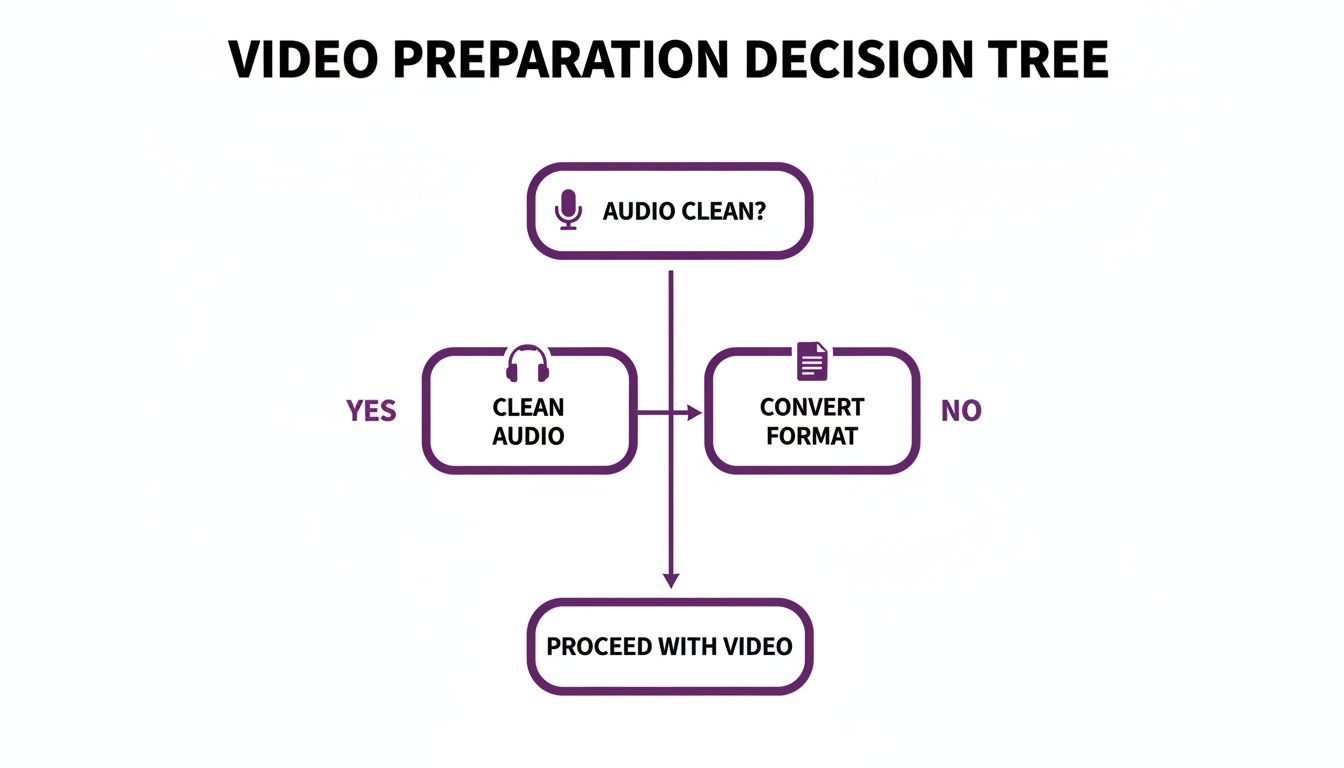
Preparing Videos For Subtitling
Nothing derails a smooth subtitling session like messy files and mismatched audio. Start with clear, consistent source clips and you’ll avoid dozens of import errors and surprises later.
Pick MP4, MOV, or MKV and stick with it. Then:
- Use H.264 codec for universal support
- Lock your resolution at 1080p or 4K
- Dump every asset into one dedicated project folder
Before you even touch a transcript, run a quick audio cleanup. Noise reduction and volume leveling stop odd silences and captions that drift off time.
Trim out rough takes and dead space now. That way, your subtitles land exactly when the action does—instead of lingering over blank frames.
Setting Up Your Workspace
Lay out your timeline so each audio source lives on its own track. I color-code mine for instant clarity.
- Track 1: Dialogue
- Track 2: Music
- Track 3: SFX
With this setup, shifting captions in response to dialogue tweaks becomes second nature.
Naming Language Tracks
Juggling multiple subtitle files? Give each one a bullet-proof name. I follow a [language]_[region].srt convention—en_US.srt, en_GB.srt, zh_CN.srt—and never import the wrong language again.
Common examples:
- en_US.srt for American English
- en_GB.srt for British English
- zh_CN.srt for Simplified Chinese
If you need to swap an MKV into MP4, run:ffmpeg -i input.mkv -c:v libx264 -c:a aac output.mp4
That single command smooths out compatibility across every subtitle editor.
Editor Tips
In Adobe Premiere Pro, the Media Browser keeps your clips linked. Over in DaVinci Resolve, create a bin for each scene. Final Cut Pro fans can drop markers at key dialogue beats—these feed straight into automatic timestamp generators.
Proper preparation can slash subtitle mismatches by up to 40% in post workflows.
Once your files, tracks, and markers are tidy, adding captions feels almost effortless.
Testing And Review
Open your cleaned file in your subtitle tool and run through this checklist:
- Play at 1.5× speed to catch drift
- Scrub through every cut and watch subtitle timing
- Match each caption to the audio waveform
Lastly, version your project folder. A quick rollback after a corrupted save can save you hours of rework.
Now your video is primed for crisp, accurate captioning.
Comparing Manual And AI Subtitle Creation
Picking between transcribing by hand and letting an AI tool handle your captions really boils down to three factors: accuracy needs, budget, and turnaround time.
In a manual workflow, you scrub the audio, type every word by ear, then painstakingly line up timestamps with the waveform. You also decide on fonts, line breaks, and how long each caption stays on screen.
Creators who need frame-perfect timing and precise speaker labels swear by manual editing for the level of control it offers.
Pros Of Manual Creation:
- High Accuracy when dealing with clear audio or specialized terminology
- Total Styling Freedom—fonts, colors, positioning, and more
- One-Time Cost—no subscription fees once you’ve learned the software
Cons Of Manual Creation:
- Time-Consuming: roughly 5–15 minutes per minute of video
- Error-Prone after long editing sessions
- Steeper Learning Curve for mastering hotkeys and layout quirks
On the flip side, AI subtitle generation leans on speech-to-text engines to draft transcripts, auto-sync timecodes, and even run bulk translations.
The subtitle-generator market is booming—forecasted to hit $1.5 billion in 2025 with an 18% CAGR through 2033. Learn more about these insights on SuperAGI.
Manual Vs AI Subtitle Workflow
To see how each approach stacks up, here’s a quick side-by-side:
| Step | Manual | AI |
|---|---|---|
| Transcription | Listen and type everything by ear | Auto-transcribe with AI engine |
| Timing | Manually sync timecodes with waveform | Automated timing based on speech patterns |
| Styling | Apply consistent fonts, line breaks, colors | Use AI presets or tweak template styles |
| Quality Control | Proofread and adjust each caption | Spot check and correct misrecognized words |
| Translation Options | Export SRT and translate manually | Auto-translate multiple languages in bulk |
Ultimately, your choice hinges on whether you prize total control or need to crank out subtitles in minutes.
For example, a travel vlogger might let AI draft an SRT file overnight, then spend 20 minutes cleaning up location names and local slang.
“A few human tweaks can save hours when AI botches place names or jargon.” – Video Editor Pro
Blending AI speed with hands-on precision can cut editing time by up to 60%. Tackle large batches with automation, then polish the tricky segments by hand. This hybrid strategy keeps your subtitles tight without burning out your schedule.
Generating Subtitles Automatically With LunaBloom AI
Adding subtitles used to be a chore—hours spent syncing text to speech, hunting typos, wrestling with timelines. LunaBloom AI flips that script, turning a tedious task into a few clicks. Upload your raw footage, pick your languages, adjust voice profiles, and let the platform do the heavy lifting.
Whether you need captions for social clips or full-length tutorials, the unified workspace handles everything from noise suppression to speaker tagging. You’ll get polished subtitles faster and with professional accuracy.
Uploading Your Video File
Hit the Upload button and choose your video format—MP4, MOV, or even legacy files. A progress bar shows you exactly how far along you are, so you can prep your next steps without guessing.
- Select the target language and tweak detection settings for accents.
- Tag speakers to assign distinct voice profiles in multi-person scenes.
- Toggle noise suppression to clean up background interference.
As your footage uploads, a live waveform maps speech to timecodes. Red markers highlight low confidence segments that deserve a quick manual glance.
The subtitle market hit $0.317 billion in 2024 and is projected to reach $0.76 billion by 2033 at a 10.17% CAGR, driven by streaming’s boom and cloud-based captioning tools. See the full breakdown Learn more about subtitle market growth
Learn more about LunaBloom AI features in our in-depth guide
Reviewing And Editing AI Draft
When your draft is ready, scan the timeline to see auto-generated text blocks. Clicking any segment allows you to fix misheard words or polish punctuation in seconds.
- Focus on the red-flagged parts first—they often need the most attention.
- Drag the start/end markers to fine-tune timing.
- Split or merge captions by pulling waveform handles in overlapping dialogue.
Manually reviewing flagged segments can catch up to 98% of recognition errors.
A find-and-replace feature lets you tweak recurring phrases in one go. Once you’ve nailed your edits, save custom templates to keep brand styling consistent across all projects.
| Export Format | Use Case | File Type |
|---|---|---|
| SRT | Standard caption uploads | .srt |
| Embedded | Social media platforms | .mp4 |
| VTT | HTML5 video | .vtt |
Choose SRT for wide compatibility or embed captions directly for platforms like Instagram Reels and TikTok. For YouTube, export your .srt file and drop it into YouTube Studio for precise control. Analytics within LunaBloom AI then reveal where viewers engage or drop off.
Exporting And Troubleshooting
Ready to finalize? Click Export and pick SRT, VTT, or embedded captions. You can even batch-export multiple language tracks with one click.
- If background noise garbles your text, slide up the noise filter to boost clarity.
- Re-run detection after bumping the sensitivity to catch tricky dialogue.
- Manually override any stubborn segments that still don’t line up.
Multi-speaker videos sometimes swap labels—just add manual speaker tags to keep everyone straight. Before you hit publish, preview the final file in LunaBloom AI or your favorite media player to catch missing cues or overlapping timestamps.
This interface view shows how timecodes and text overlays lock together for effortless tweaks. Exporting crisp, ready-to-publish captions has never been smoother.
Ready to cut hours from your subtitling workflow? Try LunaBloom AI now and watch your captions hit the screen in record time. Start your free trial today and publish captions in multiple languages—boosting engagement across every channel.
Tips For Accurate Engaging Subtitles

When viewers can read every word without strain, they stick around. Clear, well-timed captions keep people hooked and reinforce your message.
Keep font sizes at 24px on desktop and 16px on mobile. Squinting is a real turnoff, so don’t give your audience an excuse.
Aim for 15–20 characters per line so your text never feels cramped or overwhelming.
- Use consistent line breaks to avoid chopping up sentences mid-thought.
- Color-code speakers in a conversation to make it easy to follow who’s talking.
- Place captions on semi-transparent bars when the background gets busy.
Proofreading early and often helps you catch those split-second timing glitches before anyone presses play.
“Perfect timing makes subtitles feel like part of the story, not an afterthought.”
A quick styling check against both light and dark scenes will highlight contrast issues immediately. Fix them now, and your review cycle will fly.
Consistency in your subtitle style saves a ton of back-and-forth later.
Proofreading And Testing
A final sanity check on desktop and mobile prevents nasty surprises. Walk through a quick preview on every device your audience might use.
- Export a draft SRT file and load it into your video player.
- Scan the timeline for off-screen text, overlaps, or delays.
- Test captions against different background colors to ensure they pop.
Bringing a native speaker into the process can flag regional phrases or unnatural pacing. It’s a small step with a big payoff.
Remember that social reels often autoplay muted. Break longer lines into bite-sized chunks so they capture attention instantly.
In webinars and e-learning modules, pairing live captions with downloadable transcripts boosts both engagement and accessibility. Always preview subtitles in the final aspect ratio—tiny misalignments can erode trust faster than you think.
Final Styling Tips
Give your font choice, text color, and bar opacity one last look. Those subtle tweaks define professionalism.
Sync captions on sample clips in landscape and portrait modes, then import them into each publishing tool to confirm they display correctly.
A few extra minutes here can save hours in post, ensuring your subtitles feel truly seamless.
Frequently Asked Questions About Subtitles
Let’s dive into the questions I hear most often when I’m training teams or tweaking captions late at night. These answers draw on real editing sessions and lessons learned the hard way.
Q What Free Tools Help Beginners Start?
For newcomers, I always point to three reliable, zero-cost editors:
- Aegisub: Precise timecoding with waveform and spectrogram views.
- Subtitle Edit: Handy bulk operations plus built-in spell check.
- Amara: Entirely browser-based, perfect for team collaboration.
Beginners can open any of these and jump right into crafting timestamps and styles.
Pro Tip Pausing right at speaker changes can improve your sync accuracy by 30%—trust me, that split-second makes all the difference.
Q How Can I Sync Fast Speech Accurately?
Rapid dialogue is brutal if you rely solely on eyeballing timecodes. Instead, zoom into the audio waveform, assign hotkeys for “start” and “end,” and mark each phrase precisely. I find this approach cuts editing errors by half.
Q Is AI Subtitle Generation Reliable Across Languages?
Most modern engines hit around 85% accuracy on major languages. They flag low-confidence sections automatically, so you’ll know exactly where to double-check. Always plan a quick review pass for tricky accents or slang.
Export Format Recommendations
Q Which Subtitle Formats Work Best for Different Platforms?
Here’s what’s served me well in various scenarios:
| Platform | Format | File Extension |
|---|---|---|
| YouTube | SRT | .srt |
| HTML5 Video | VTT | .vtt |
| Embedded Captions | .mp4 |
Before you publish, load your video in the target player to confirm everything lines up.
Q What’s One Quick Workflow Boost?
Combine an AI-generated draft with a sharp manual pass. You’ll slash your editing time by about 40%, and still catch those pesky mistakes that machines miss.
Additional FAQs
Q Can I Translate Subtitles Automatically?
Yes—LunaBloom AI and other platforms offer bulk translation in over 50 languages. A brief read-through ensures you preserve idioms and tone.
Q How Do I Handle Multi-Speaker Dialogues?
I color-code each speaker and add simple tags like [Anna] or [John]. When voices overlap, that visual cue keeps viewers oriented.
Q How Long Do Subtitle Files Remain Editable?
Until you export them, caption files stay fully editable—so you can tweak styles or timecodes at any point in the process.
Q How Do I Correct Timing Drift in Long Videos?
Break your footage into chapters or segments. Adjust each section separately, then preview at 1.25× speed to catch any drift early. Keeping style presets consistent also saves you from reformatting.
Get started with LunaBloom AI now and see how subtitles go from chore to charm.
Conclusion
Creating subtitles for videos is both an art and a science. Manual workflows offer precision and styling control. Software tools strike a balance between speed and accuracy. AI solutions like LunaBloom AI can auto-generate and timecode captions in minutes. Use the method that fits your project needs, budget, and timeline. Experiment with hybrid workflows to save time without sacrificing quality. Ready to level up your video accessibility? Pick your tool, follow these best practices, and start creating subtitles that engage viewers worldwide.