If there's one thing I've learned after years behind a camera, it's this: Great lighting is the single biggest factor separating amateur footage from professional-looking video. It’s more important than your fancy camera or your expensive microphone. How you shape light builds credibility, keeps people watching, and makes your subject look polished and trustworthy.
Why Lighting Is Your Most Powerful Video Tool
Stop thinking of lighting as a technical headache. Instead, see it as your best creative tool. It sets the emotional tone and tells your audience where to look before you’ve even said a word. Good lighting makes you look sharp and confident. Bad lighting? It’s distracting and can completely kill your message, no matter how brilliant it is.
The numbers back this up. The market for studio lighting is booming for a reason. Analytics show that properly lit videos can retain viewers 34% longer. This growth is driven by creators and businesses finally understanding that visual quality directly impacts audience engagement.
Building Trust and Authority
Here’s the thing: a well-lit video feels more professional. It’s a subconscious signal. When your viewers see a clean, crisp image, they are far more likely to see you as an expert and your content as reliable. This is a game-changer whether you're creating:
- Product Demos: Show off every feature without ugly glare or weird shadows.
- Educational Tutorials: Ensure your audience can see what you're doing.
- Marketing Content: Present your brand in the best possible light—literally.
- Client Meetings: Look polished and ready for business, even over a video call.
Transforming Your Visual Story
Beyond just making things visible, lighting is how you tell a story visually. It creates mood and depth, turning a simple room into something that looks cinematic. Once you nail a few basic principles, you gain complete control over your video's narrative.
Great lighting doesn’t just illuminate your subject; it shapes how your audience feels about them. It's the difference between a flat, uninspired video and a dynamic, engaging experience that holds attention.
To get this right, you need to understand the fundamentals. Diving into different setups will give you a solid foundation for any project you take on.
Understanding the Fundamentals of Light
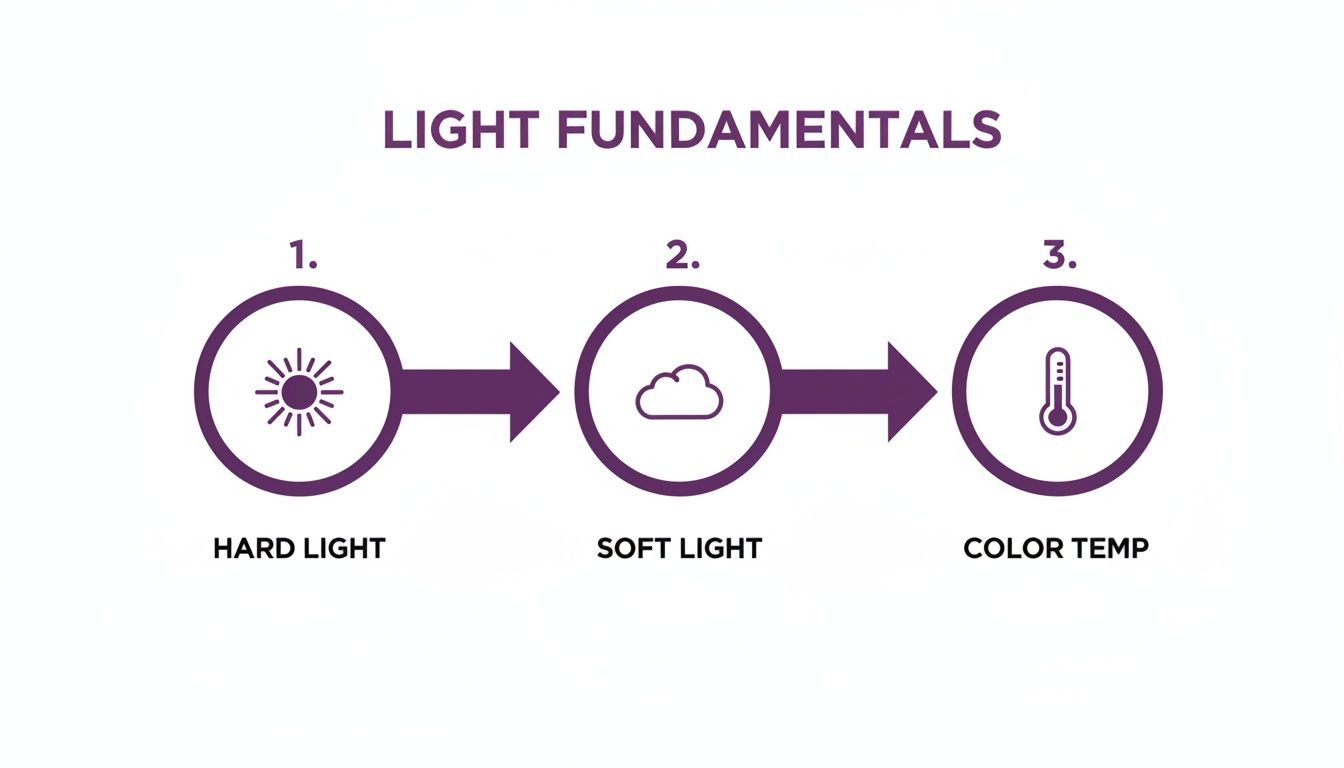
Before you can master lighting a scene, you have to learn the language of light. Don't worry, this isn't a complex physics lesson. It's about understanding how different kinds of light create a specific look and feel on camera. Once you grasp a few key ideas, you’ll be able to shape light deliberately.
Think about the difference between a bright, sunny day and a gray, overcast one. That harsh midday sun creates hard light, casting sharp, clearly defined shadows. This intense, directional light is fantastic for adding drama or a gritty, high-contrast look.
An overcast day, on the other hand, gives you beautiful soft light. The clouds act like a massive diffuser, scattering the sunlight and wrapping it gently around your subject. This creates soft, feathered shadows that are incredibly flattering for faces, making it the go-to for interviews and tutorials.
Hard Light vs. Soft Light: At a Glance
Choosing between hard and soft light is one of your first creative decisions. It sets the entire mood for your shot. Here’s a quick breakdown to help you decide.
| Characteristic | Hard Light | Soft Light |
|---|---|---|
| Shadows | Crisp, well-defined edges | Soft, feathered edges |
| Contrast | High contrast, deep shadows | Low contrast, gentle falloff |
| Source Size | Small, focused light source | Large, diffused light source |
| Mood | Dramatic, intense, edgy | Gentle, flattering, natural |
| Best For | Drama, action, noir, emphasizing texture | Interviews, beauty, vlogs, flattering skin tones |
Ultimately, neither style is "better"—they're just different tools for different jobs. Your choice depends entirely on the story you want to tell.
Getting Color Right with Temperature and CRI
Ever filmed indoors and found your skin looks weirdly orange or blue on camera? That's a color temperature problem. Measured in Kelvin (K), color temperature describes the color of light, from the warm glow of a tungsten bulb (around 3200K) to the cool blue of daylight (around 5600K).
Your camera sees these color differences literally, so it’s crucial to match your lights to the ambient light. If you’re filming near a window, set your lights to a daylight temperature for a clean, balanced look.
Another critical factor is the Color Rendering Index (CRI). It’s a 0-to-100 scale measuring how accurately a light source shows true colors. For any serious video work, you should never settle for a CRI below 95.
A high CRI ensures that everything in your video—from product branding to skin tones—looks vibrant and true-to-life. It’s the difference between professional footage and a washed-out, discolored mess.
The Impact of Modern Lighting Technology
The move to LED lighting has completely changed the game for creators. The LED video lights market is expected to jump from USD 2.5 billion in 2024 to USD 5.8 billion by 2033 for good reason. Old tungsten bulbs wasted up to 90% of their energy as heat. Modern LEDs convert over 80% of energy into light, which can slash a studio’s electricity bill by up to 75%.
Many LED lights now come with adjustable bi-color settings, letting you dial in the perfect temperature on the fly. And the results speak for themselves—videos lit with quality LEDs can see up to 40% higher viewer engagement.
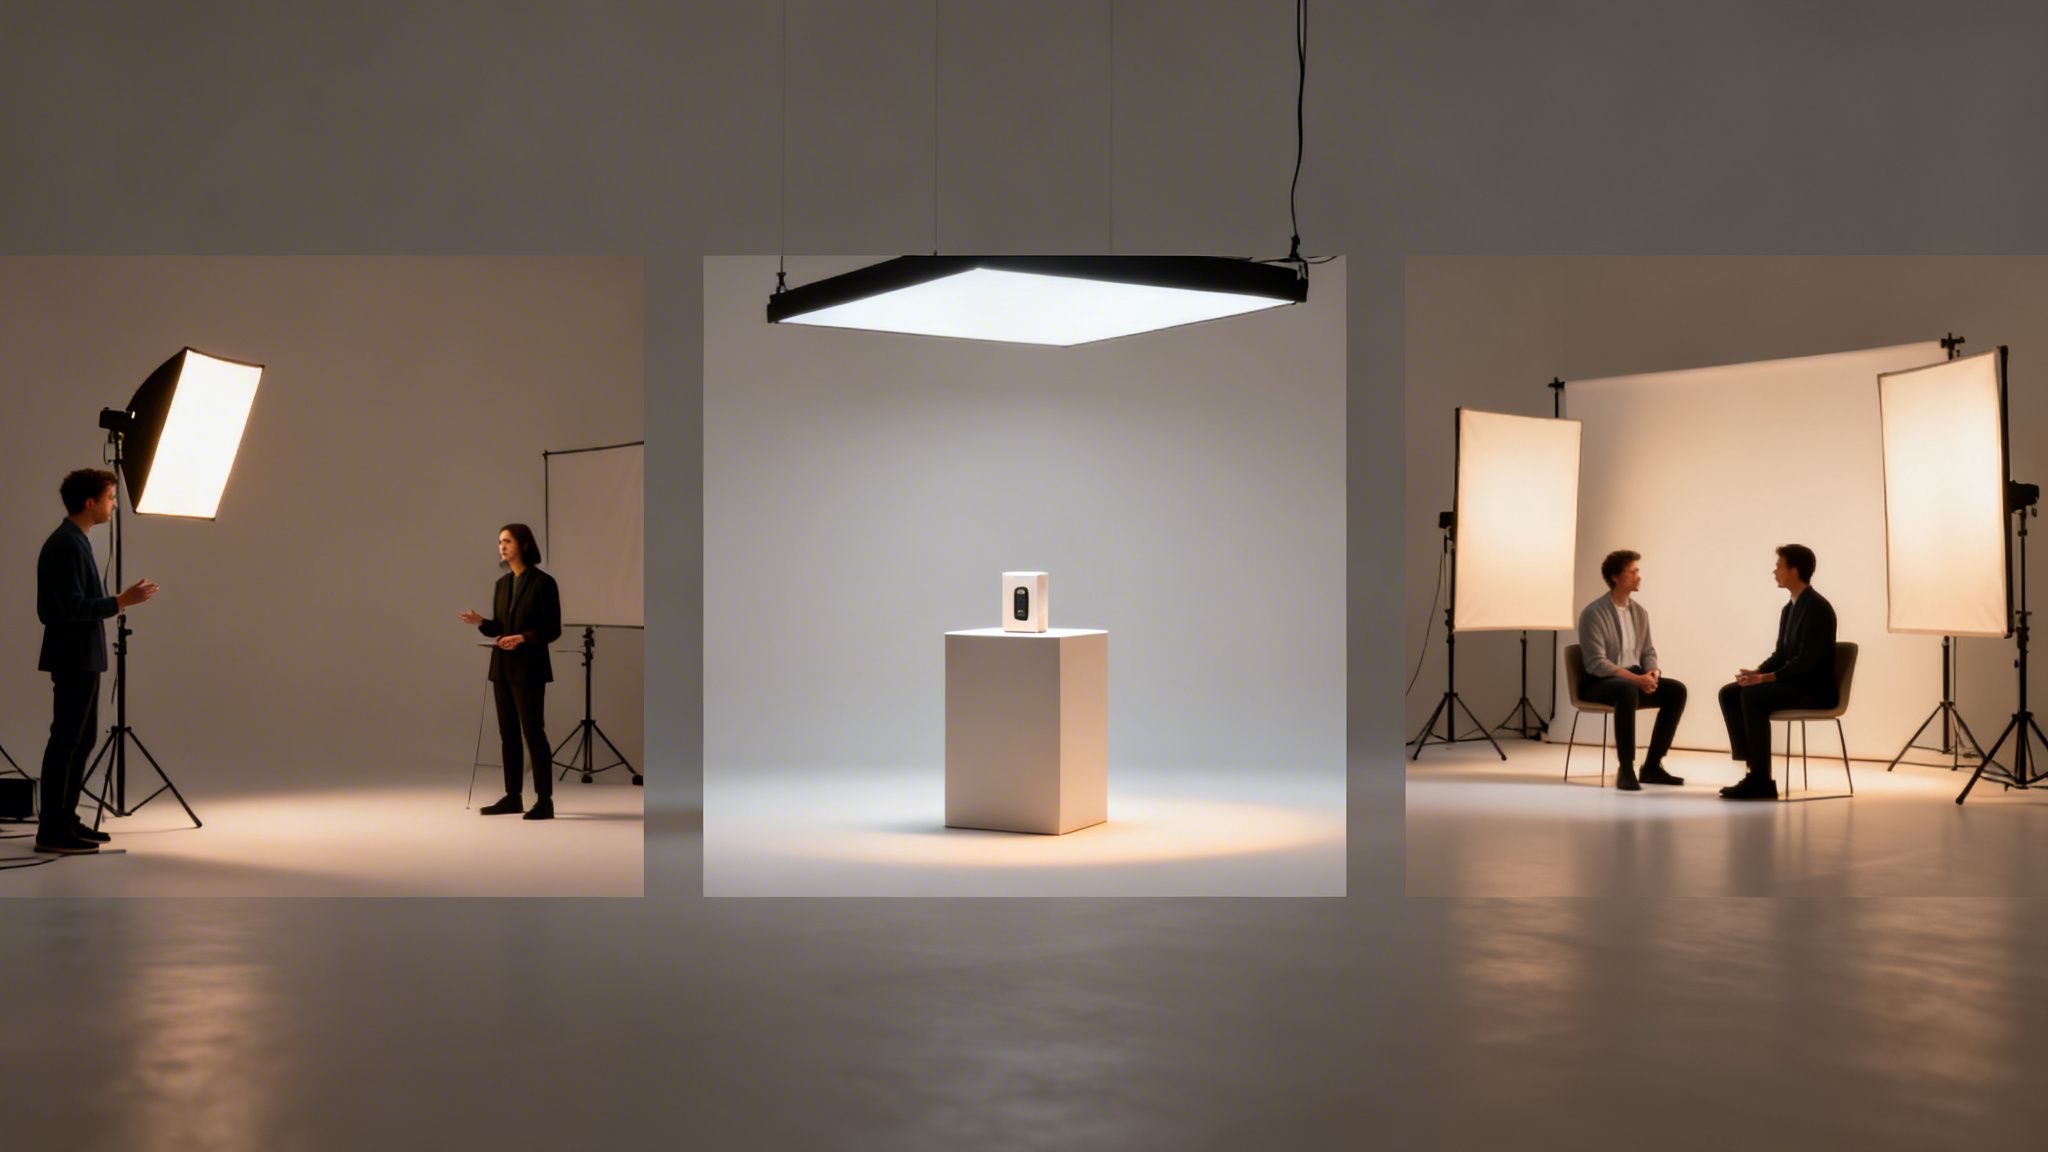
How to Build a Three-Point Lighting Setup
Ever wonder how professional videos get that clean, polished look? The secret is almost always a classic three-point lighting setup. It’s the industry standard because it just works, consistently creating flattering, dimensional footage.
Don't let the name intimidate you. The concept is straightforward, and once you get the hang of each light's job, you can replicate it anywhere. Let's break down the purpose of each light and where to place it to transform your video.
The Key Light: Your Main Light Source
First up is the key light. Think of this as the star of the show. It's your primary and brightest light source, and its whole job is to illuminate your subject directly.
Placement is everything. A common mistake is placing it right in front of you, which creates a flat, "mugshot" look. Instead, position your key light about 45 degrees to one side of your camera, slightly above eye level and angled down.
- Purpose: To provide the main illumination for your shot.
- Placement: 45 degrees to the side of the camera, angled down.
- Intensity: Your strongest light, but make sure it's soft and diffused to avoid harsh shadows.
This angled placement creates a gentle shadow on the opposite side of your face, adding shape and dimension.
The Fill Light: Softening the Shadows
Now that your key light has created those defining shadows, the fill light steps in to soften them. Its job isn't to eliminate shadows but to "fill" them just enough to bring back some detail. This prevents the non-key side of your face from looking overly dramatic.
Place the fill light on the opposite side of the camera from your key light, again at a rough 45-degree angle.
The art of a good fill light is subtlety. It should always be less intense than your key light. A good rule of thumb is to set it to about 50% of the key light's brightness.
Don't have a second light? No problem. Use a simple white foam board or a reflector to bounce some of the key light back onto your face, gently lifting the shadows.
The Backlight: Creating Separation and Polish
Finally, we have the backlight—your secret weapon for a truly professional look. This light, sometimes called a rim light, goes behind you. It's usually placed higher up and angled down at the back of your head and shoulders.
Its sole purpose is to create a subtle outline of light around you, cleanly separating you from the background. This simple trick adds a massive sense of depth and stops your video from feeling flat. It’s what gives your shot that "pop."
- Why it's a game-changer: It creates a visual separation that makes you stand out.
- How to place it: Behind you and out of frame, aimed at your shoulders and head.
- Common mistake to avoid: Making it too bright. You want a subtle glow, not a distracting halo.
Once you nail this three-part system, you’ll have a reliable foundation for almost any video recording scenario.
Choosing Your Video Lighting Gear
You don't need a Hollywood budget to get incredible lighting. Great results are possible at every price point. The real secret is knowing what each piece of gear does and picking the right tool for the job.
Let's break down the options, from the most accessible to professional kits. This is about making smart choices that actually improve your videos.
DIY and Budget-Friendly Solutions
The best light is often free. If you're just starting, your most powerful tool is a window. Natural daylight is soft, flattering, and has a fantastic color quality. Just position yourself facing the window for a beautiful key light that illuminates your face evenly.
You can even take it a step further. Grab a simple white poster board and hold it on the opposite side of your face. This will bounce some of that window light back, filling in shadows for a more polished look.
When natural light isn't enough, consider these options:
- Clamp Lights: These cheap fixtures are super versatile. Clip them onto shelves or doors, but be careful—the light is harsh. The trick is to bounce them off a white wall or ceiling to soften their output.
- Household Lamps: A standard desk or floor lamp can work in a pinch. Try removing the lampshade for more power and placing a white sheet a safe distance in front of it to act as a diffuser.
Your goal at this stage is simple: create one big, soft light source. Bouncing a cheap, hard light off a white surface is a classic trick that turns a small source into a large, flattering one.
The Mid-Range Creator Kit
Ready to step up? This is where you get the most bang for your buck. Gear in this category gives you more control and consistency without breaking the bank.
A softbox kit is a fantastic first investment. These usually come with lights, stands, and the softbox modifier itself—a fabric box that creates a soft, professional look perfect for talking-head videos and interviews.
Ring lights are another popular choice, especially if you're filming yourself. The market for these was valued at $500 million in 2023, and for good reason. Data shows 70% of top TikTok creators use them, and their videos tend to get 2-3x more views. Their popularity exploded by 25% during the 2020 pandemic.
For those using AI tools like LunaBloom, a good ring light ensures your AI avatars have natural-looking skin tones, which can cut down your editing time by up to 50%. You can discover more insights about the camera ring light market and its growth.
Professional-Grade Equipment
When you're ready to invest more seriously, you're paying for precision, power, and durability. Professional gear is all about having complete control.
High-CRI LED panels are the modern studio standard. They let you dial in the exact brightness and color temperature you want. A high Color Rendering Index (CRI of 95+) is non-negotiable here, as it ensures colors on camera are true to life.
Exploring versatile options like LED Par light options can give you incredible control over color and intensity. These lights are built like tanks for demanding use and offer ultimate creative freedom.
Video Lighting Gear Cost and Use Case Guide
To help you decide, here's a quick breakdown of common lighting gear, what you can expect to pay, and who it's for.
| Gear Type | Typical Cost Range | Best For | Key Benefit |
|---|---|---|---|
| Window Light & Reflectors | $0 – $20 | Beginners, vloggers, tight budgets. | Free, high-quality, soft natural light. |
| Clamp/Household Lights | $15 – $50 | DIY enthusiasts, quick fixes. | Extremely affordable and available. |
| Ring Lights | $50 – $200 | Beauty vloggers, streamers, solo creators. | Even, shadowless light, flattering for faces. |
| Softbox Kits | $100 – $300 | YouTubers, course creators, interviews. | Creates large, soft, professional-looking light. |
| High-CRI LED Panels | $200 – $1,000+ | Serious filmmakers, commercial productions. | Total control over brightness, color, and power. |
The best gear is the gear you have. Start with what's available, master the fundamentals, and then invest in tools that solve a specific problem.
Lighting Setups for Real-World Scenarios
Theory is one thing, but practice is what counts. Knowing the principles of lighting for video recording is great, but building a setup for the video you need to shoot today is what matters. Let’s walk through some practical recipes for common video scenarios.
Think of these as proven starting points—templates you can tweak based on your room, gear, and creative vibe.
The Classic 'Talking Head' Tutorial
For educational content, vlogs, or online courses, your goals are clarity and authority. You want a flattering look that keeps the focus on you. The classic three-point lighting setup is your best friend.
- Key Light: Place a large softbox at a 45-degree angle to your side, raised just above eye level. This carves out your features and creates a pleasing shadow.
- Fill Light: On the other side, position a second, less intense light—or a white reflector. It gently softens shadows cast by the key light, ensuring your whole face is visible.
- Backlight: A small light placed behind you creates a subtle rim of light on your hair and shoulders. This separates you from the background and adds a polished, professional feel.
This setup builds a clean, trustworthy image. For more inspiration, check out the other articles over on the LunaBloom AI blog.
Lighting a Product Demo
When a product is the star, your lighting has two jobs: make the product look incredible and clearly show its features. The biggest challenge here is glare, especially on glossy surfaces.
The solution is to use large, diffused light sources. Try placing one large softbox on each side of the product at about a 45-degree angle. This "clamshell" approach surrounds the item in soft light, minimizing harsh reflections and bringing out detail.
Pro Tip: To kill stubborn reflections, use a circular polarizer filter for your camera lens. It works like polarized sunglasses, cutting through glare to give you a much cleaner shot.
The Multi-Person Interview
Lighting more than one person adds complexity, but the principles don't change. A common mistake is lighting each person individually, which creates messy, competing shadows. Instead, think bigger.
Use two large, identical softboxes as your key lights. Place one on the far left and the other on the far right, angling both inward to illuminate both subjects. This creates a large, even pool of soft light. You can then add a single backlight behind and between them for separation. This approach creates a cohesive, professional look.
Common Video Lighting Questions Answered
Even with careful planning, lighting issues can pop up. It happens to everyone. While experience is the best teacher, you don't have to learn everything the hard way.
Here are some quick fixes for the most common headaches people face when lighting their videos.
How do I get rid of shadows on the wall behind me?
That distracting shadow behind you is a classic beginner issue, but it's an easy fix. The cause is proximity—the closer you are to the wall, the harder your shadow will be.
First, create some space. Moving yourself a few feet away from the background will instantly soften the shadow. Then, use your backlight. A well-aimed backlight not only adds polish but also spills onto the background, washing out any remaining shadow.
What is the best way to avoid reflections in glasses?
Glare in eyeglasses can ruin a shot. The problem is the angle of your main light source in relation to your camera. Fixing it is all about adjusting your light's position.
Try raising your key light higher, angling it down toward your face at a steep 45-degree angle. This pushes the reflection down and out of the camera's view. If that doesn't work, moving the light more to the side can also help.
A quick tip for glasses-wearers: Ditch the ring light as your main source. Since it sits directly in front of you, it creates an obvious circular reflection in your lenses.
Can I get good results with just one light?
Absolutely. While a three-point setup is the gold standard, you can create a gorgeous, dramatic look with a single light. The secret is to make that one light source as big and soft as possible.
Here’s a simple way to do it:
- Use a large modifier: Attach a big softbox or a shoot-through umbrella to your light.
- Find the right angle: Place the light about 45 degrees to your side to create a key light with soft, natural-looking shadows.
- Bounce it back: To soften the shadow side, use a white foam board or a reflector on the opposite side of your face to bounce light back, acting as a gentle fill.
How do I mix my lights with natural window light?
Mixing artificial light with the sun can be tricky, but the solution is simple: match the color temperature. Daylight from a window is cool and blue-toned (around 5600K). If your video lights are set to a warmer indoor tone (like 3200K), your camera will see a distracting color split.
To fix this, set your LED lights to their "daylight" setting to match the 5600K temperature of the window. Let the window act as your powerful key light, then place your LED on the opposite side as your fill. The result is a clean, consistent, and natural look.
Mastering lighting for video recording is the most significant step you can take to elevate your content from amateur to professional. By understanding the fundamentals of hard and soft light, color temperature, and classic setups like the three-point system, you gain full creative control. Whether you're using a free window or a full studio kit, these principles remain the same. Start with what you have, practice these techniques, and watch your video quality transform.
Ready to create stunning, professionally lit videos in minutes? LunaBloom AI turns your ideas into studio-quality content without the complex setup. Our AI-powered platform handles everything from voiceovers to editing, so you can focus on your message. Start creating with LunaBloom AI today.